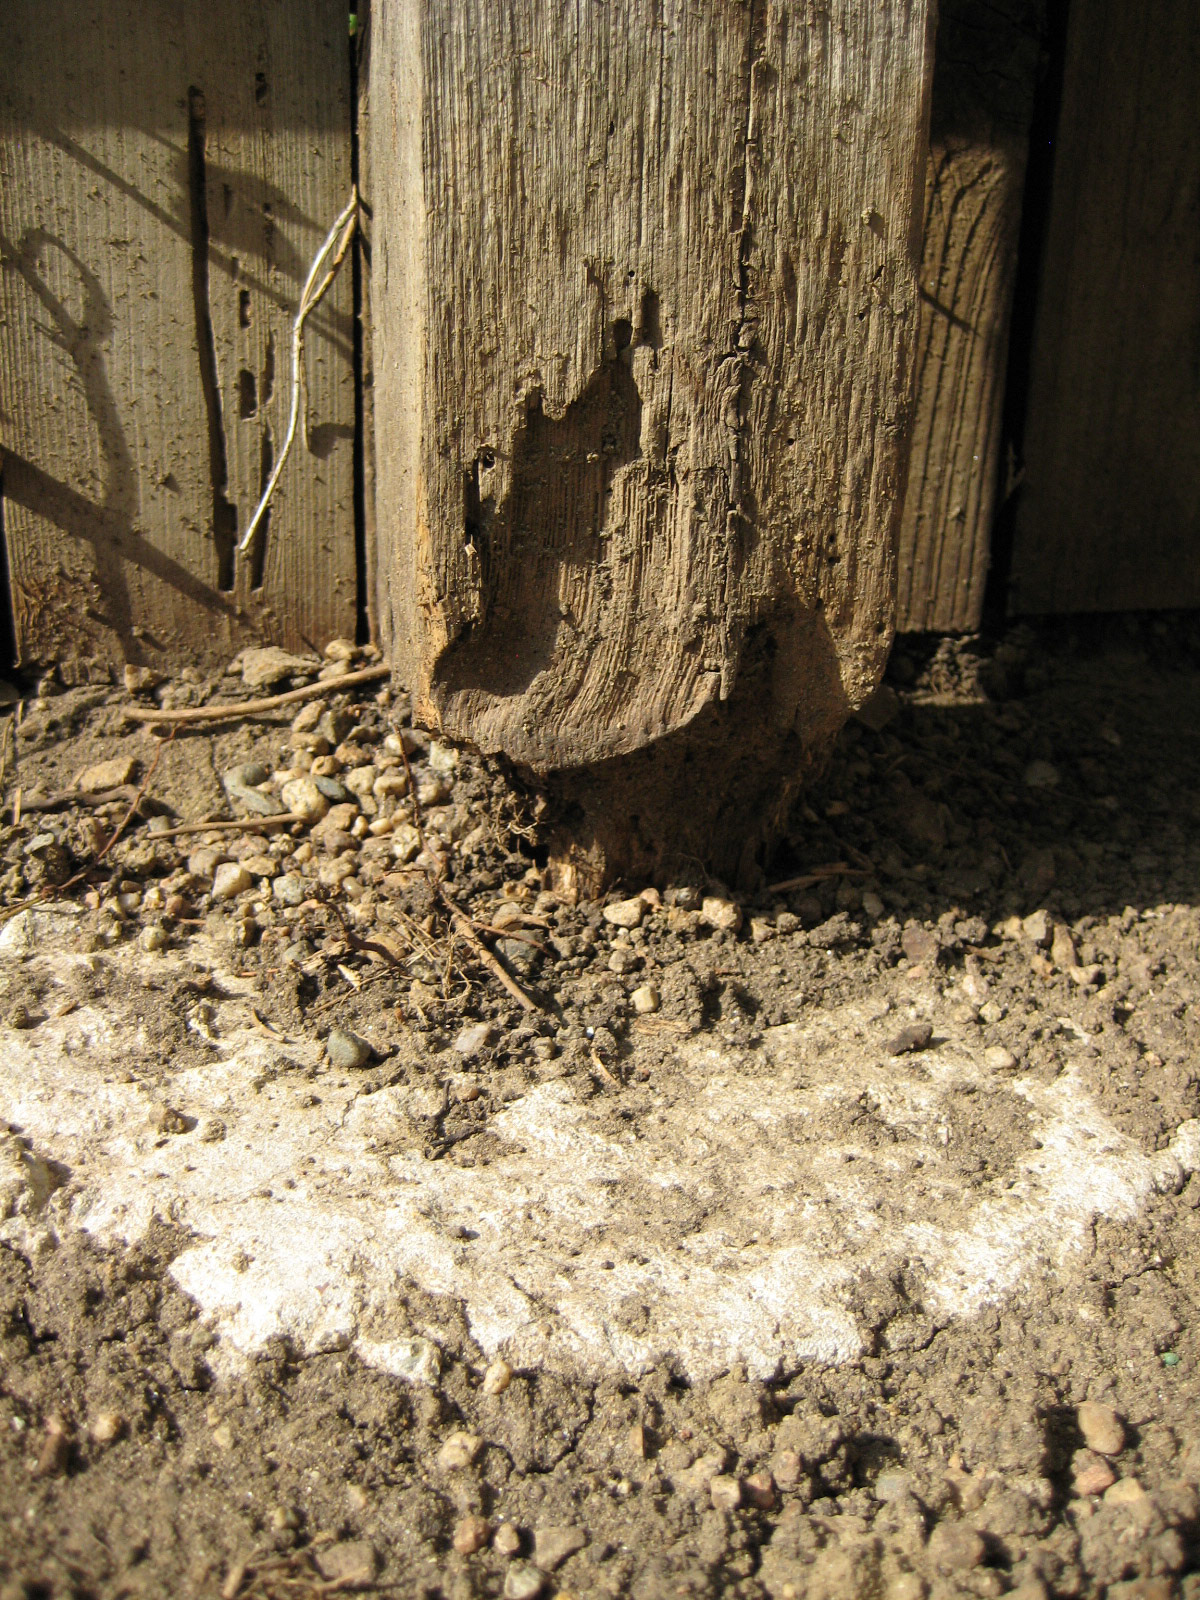
Previous owners had covered the base of this fence post with soil for a raised bed which they had on a watering system. Notice the insect damage, and of course the rotting post itself. The posts were in concrete, but the benefit of that was negated by keeping the posts covered with wet soil.
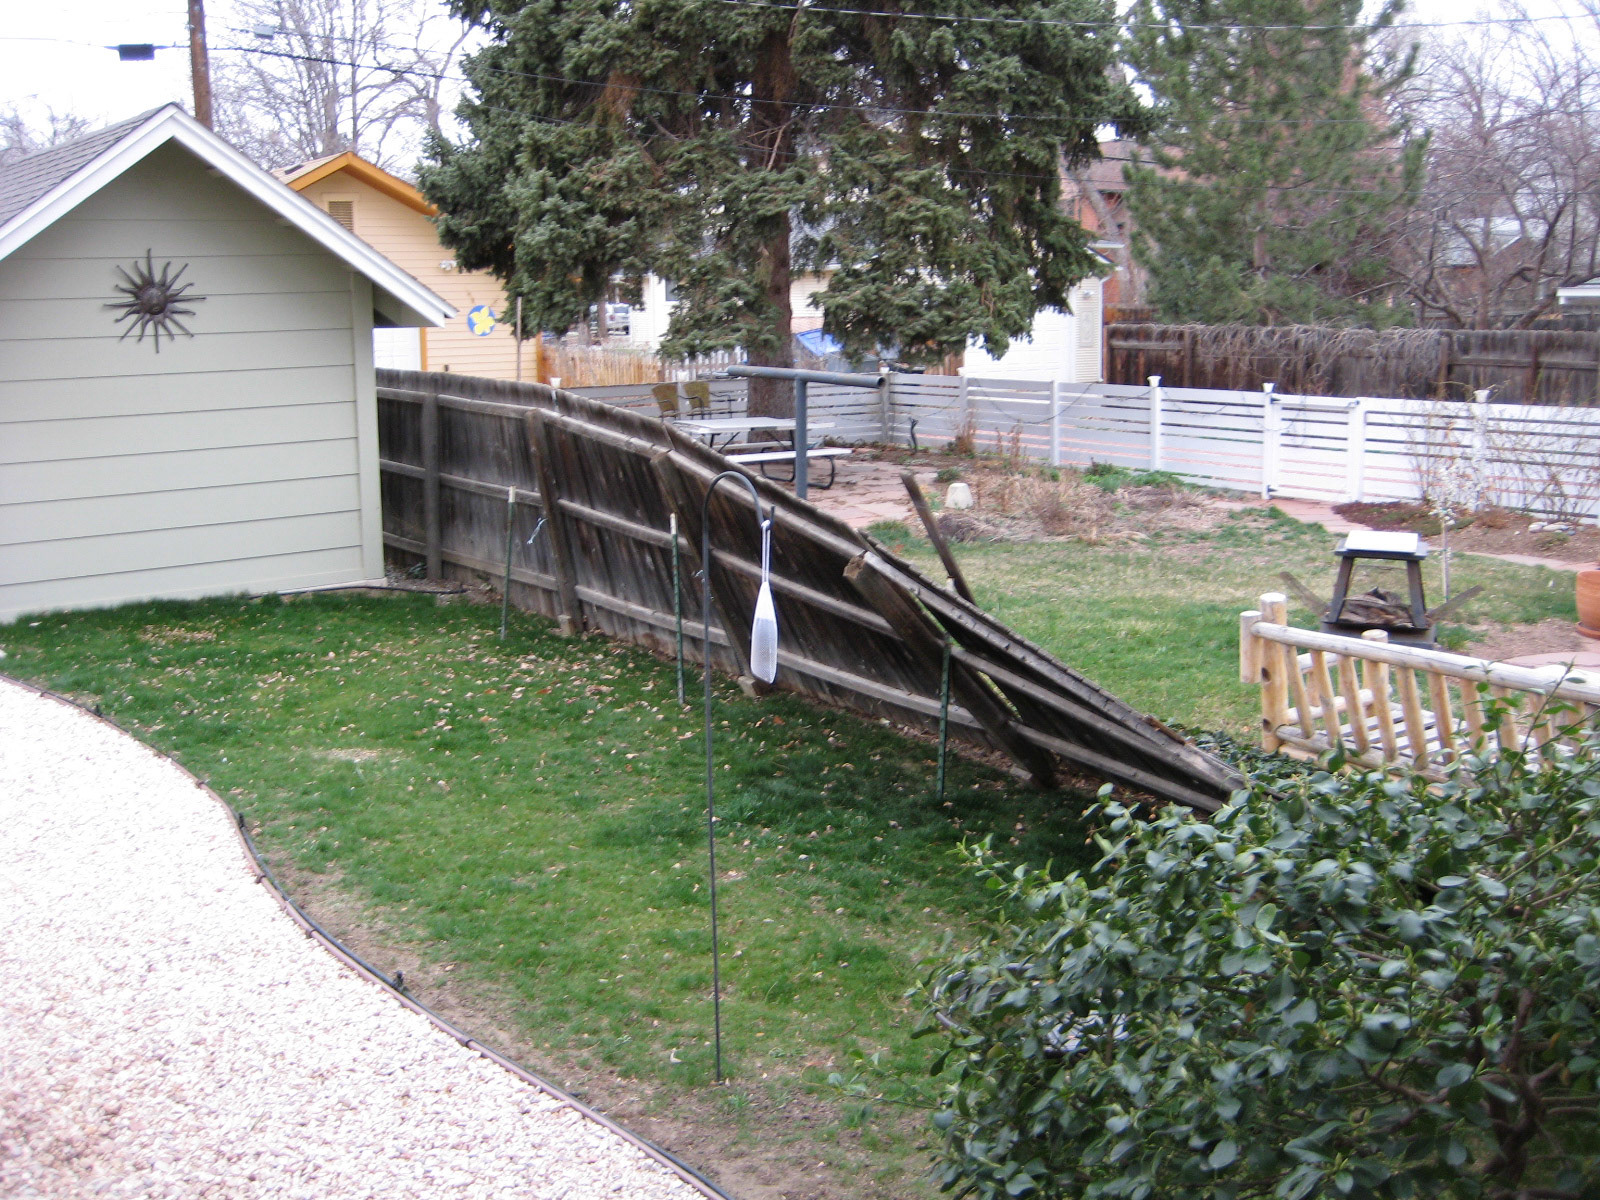
Welcome home! This is what greeted us after a long day at work.
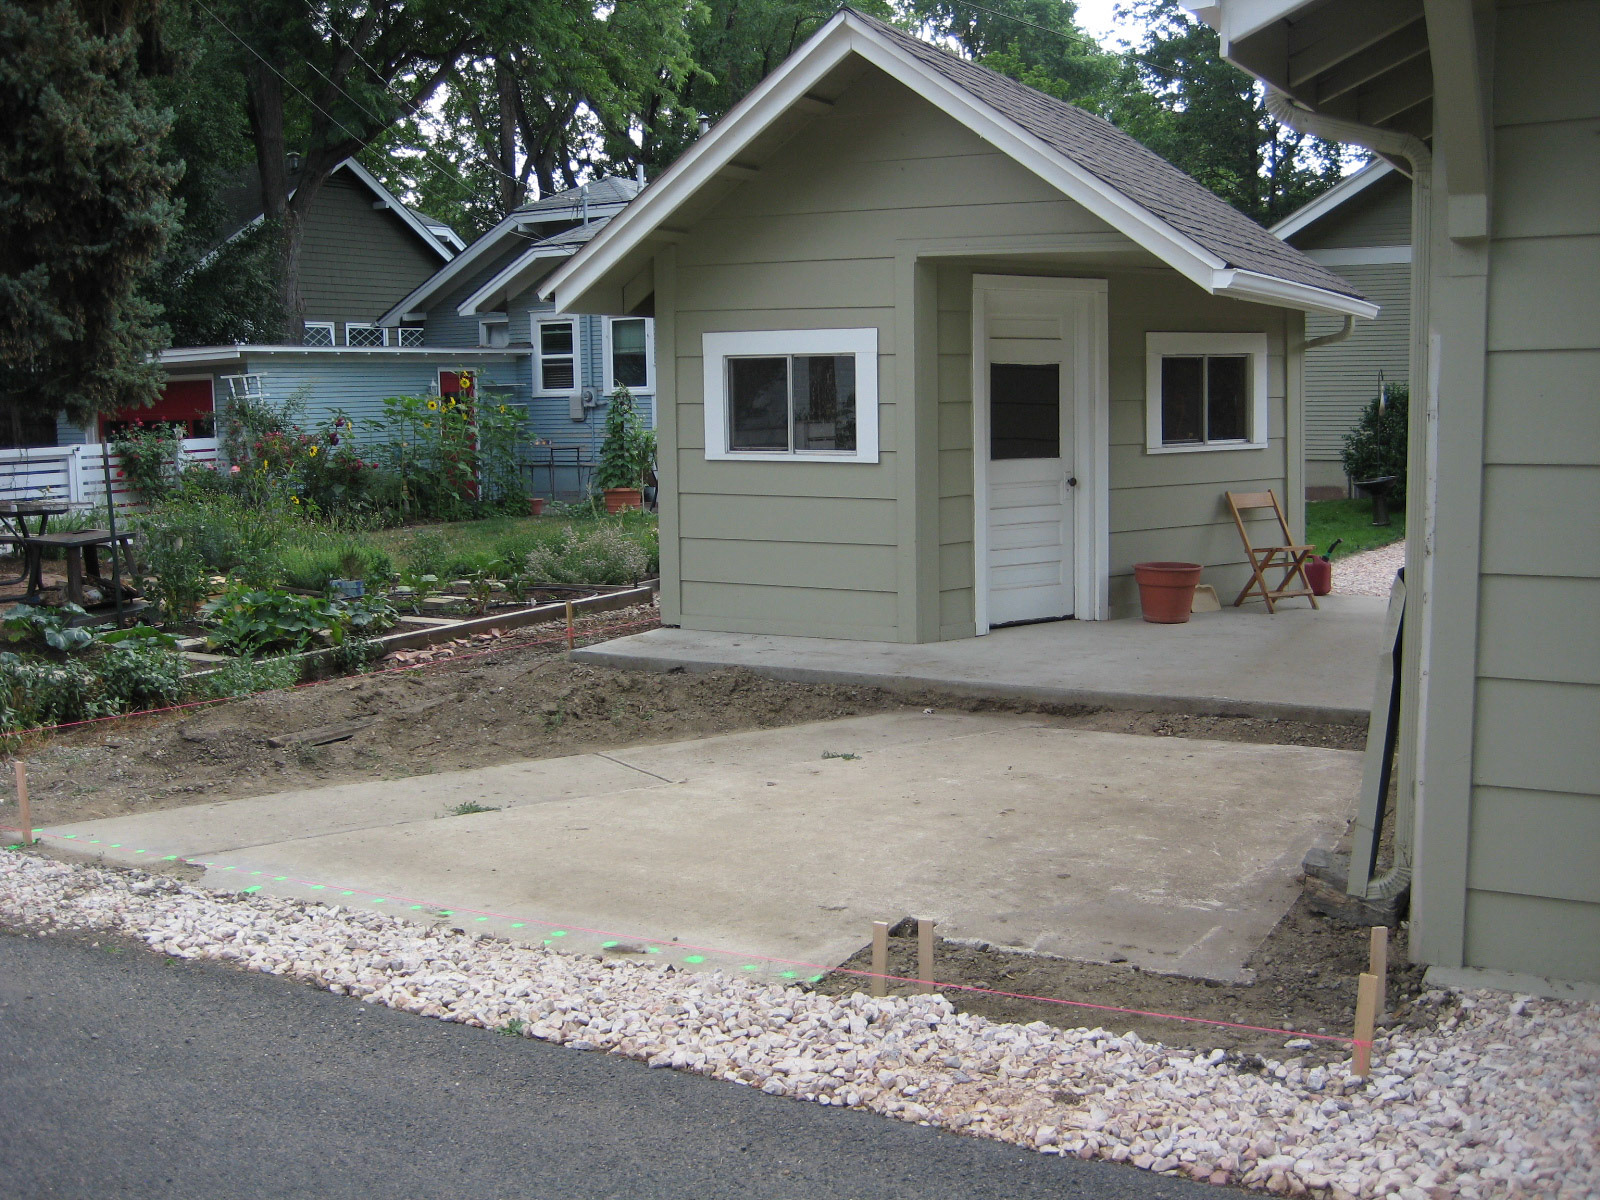
What a great shed! A previous owner very cleverly built this trapezoidal shed using scrap materials. We love it!

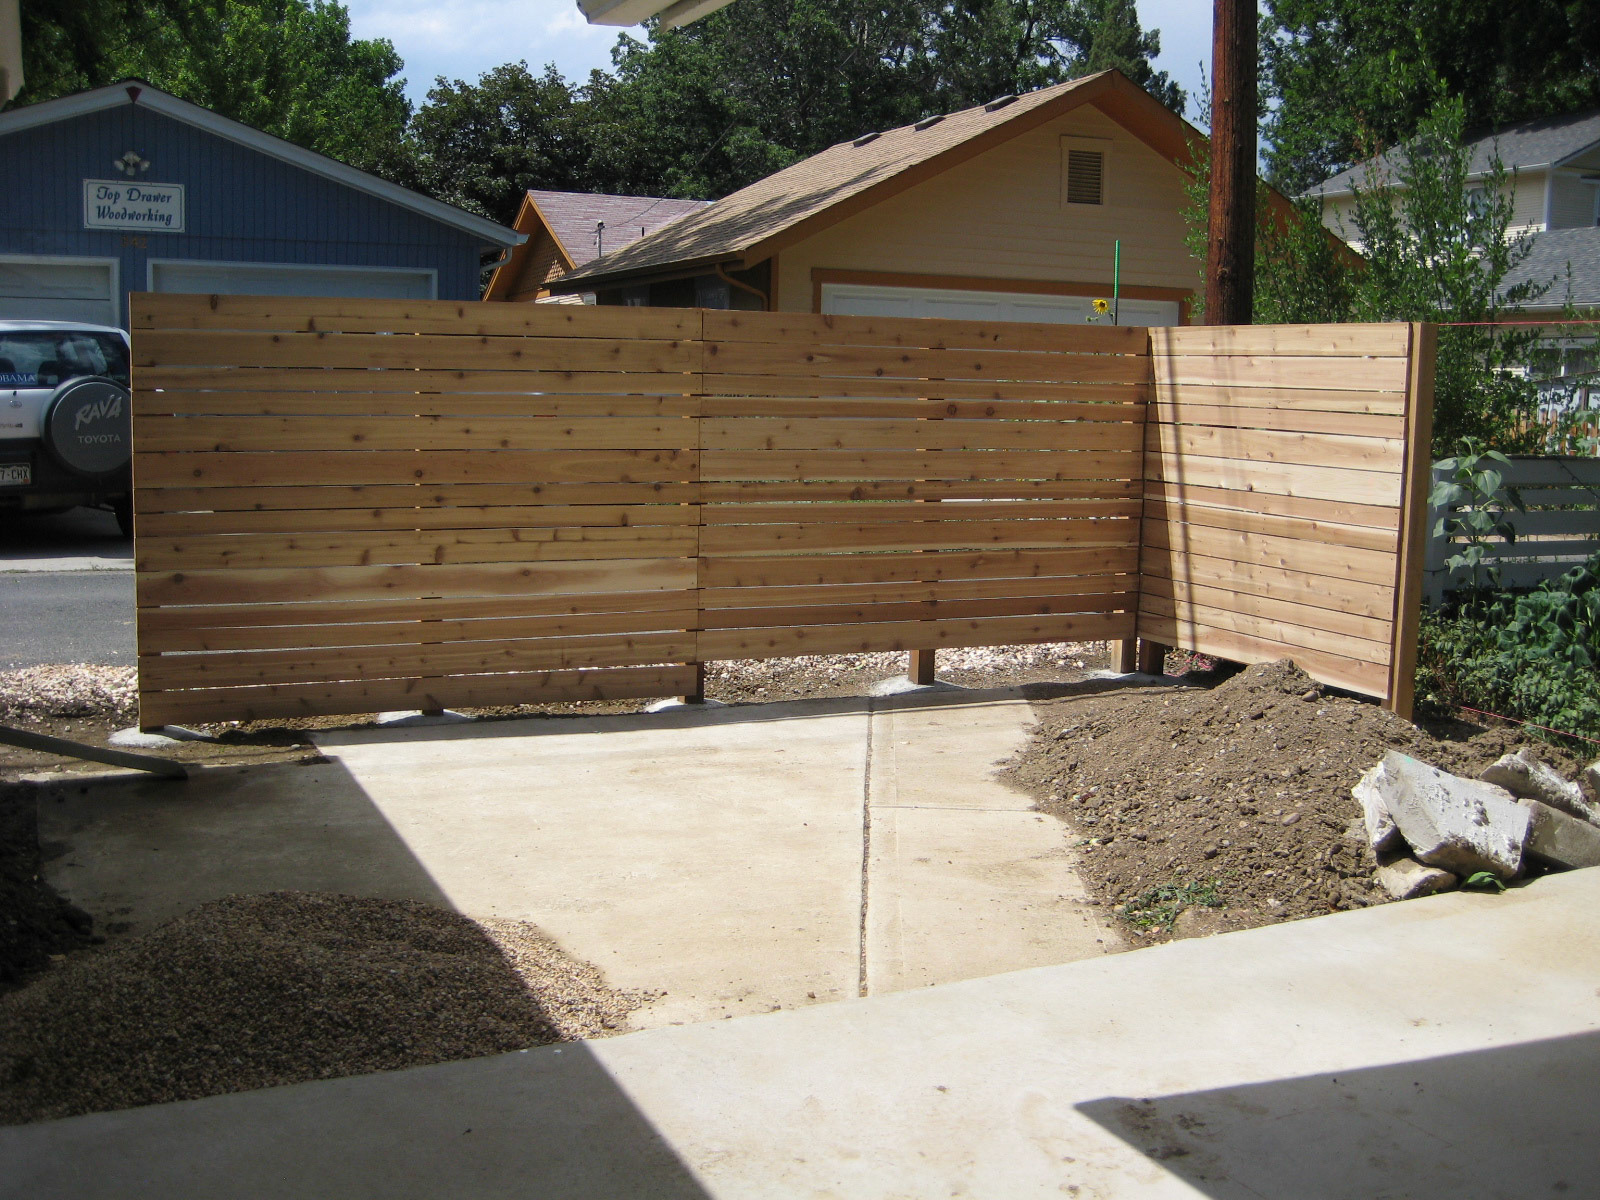
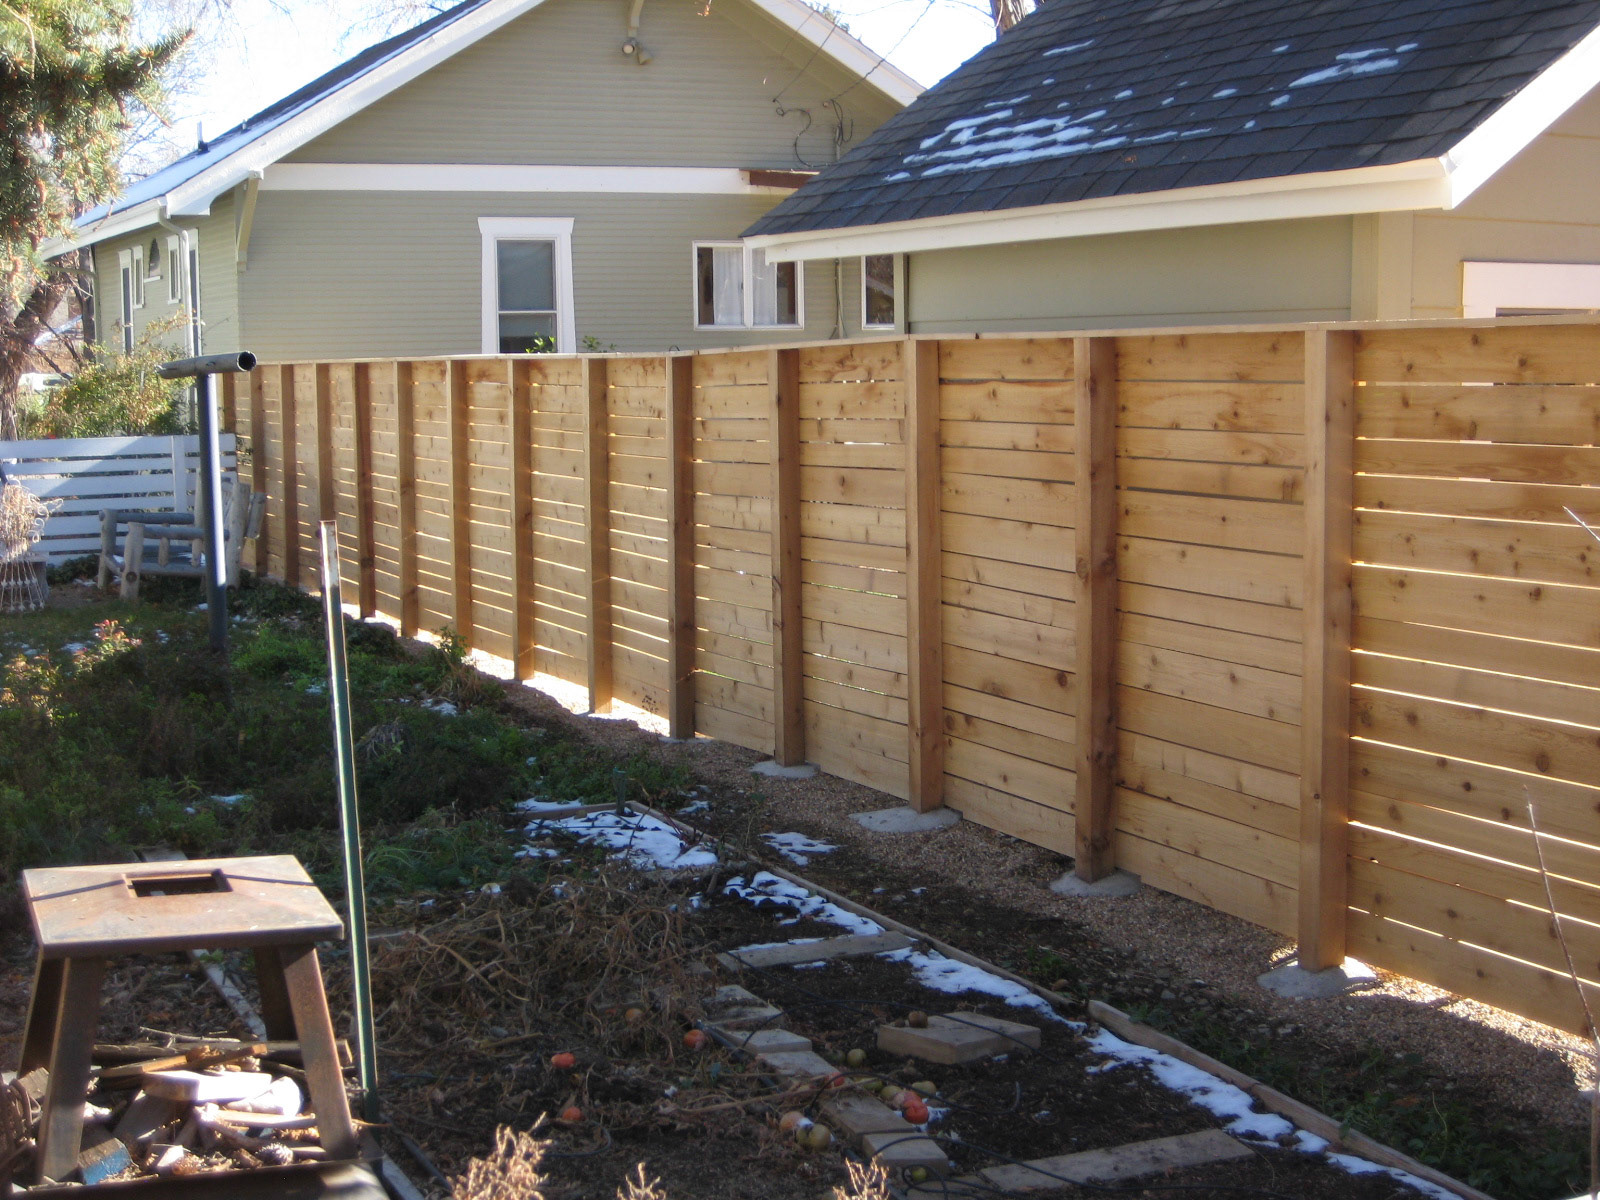
This is the basic unit the fence is based on. Three 4x4 posts, 4 feet apart, for the total span to be covered by an 8-foot board. The horizontals are in a pattern of two 1x6s, then two 1x4s, each separated by 1/4 inch for wind to pass through. The post ends are sealed with an asphalt sealant and set as close to 3 feet deep as we could get, with hand-mixed concrete footers. All the wood is western red cedar and the hardware is stainless steel screws.
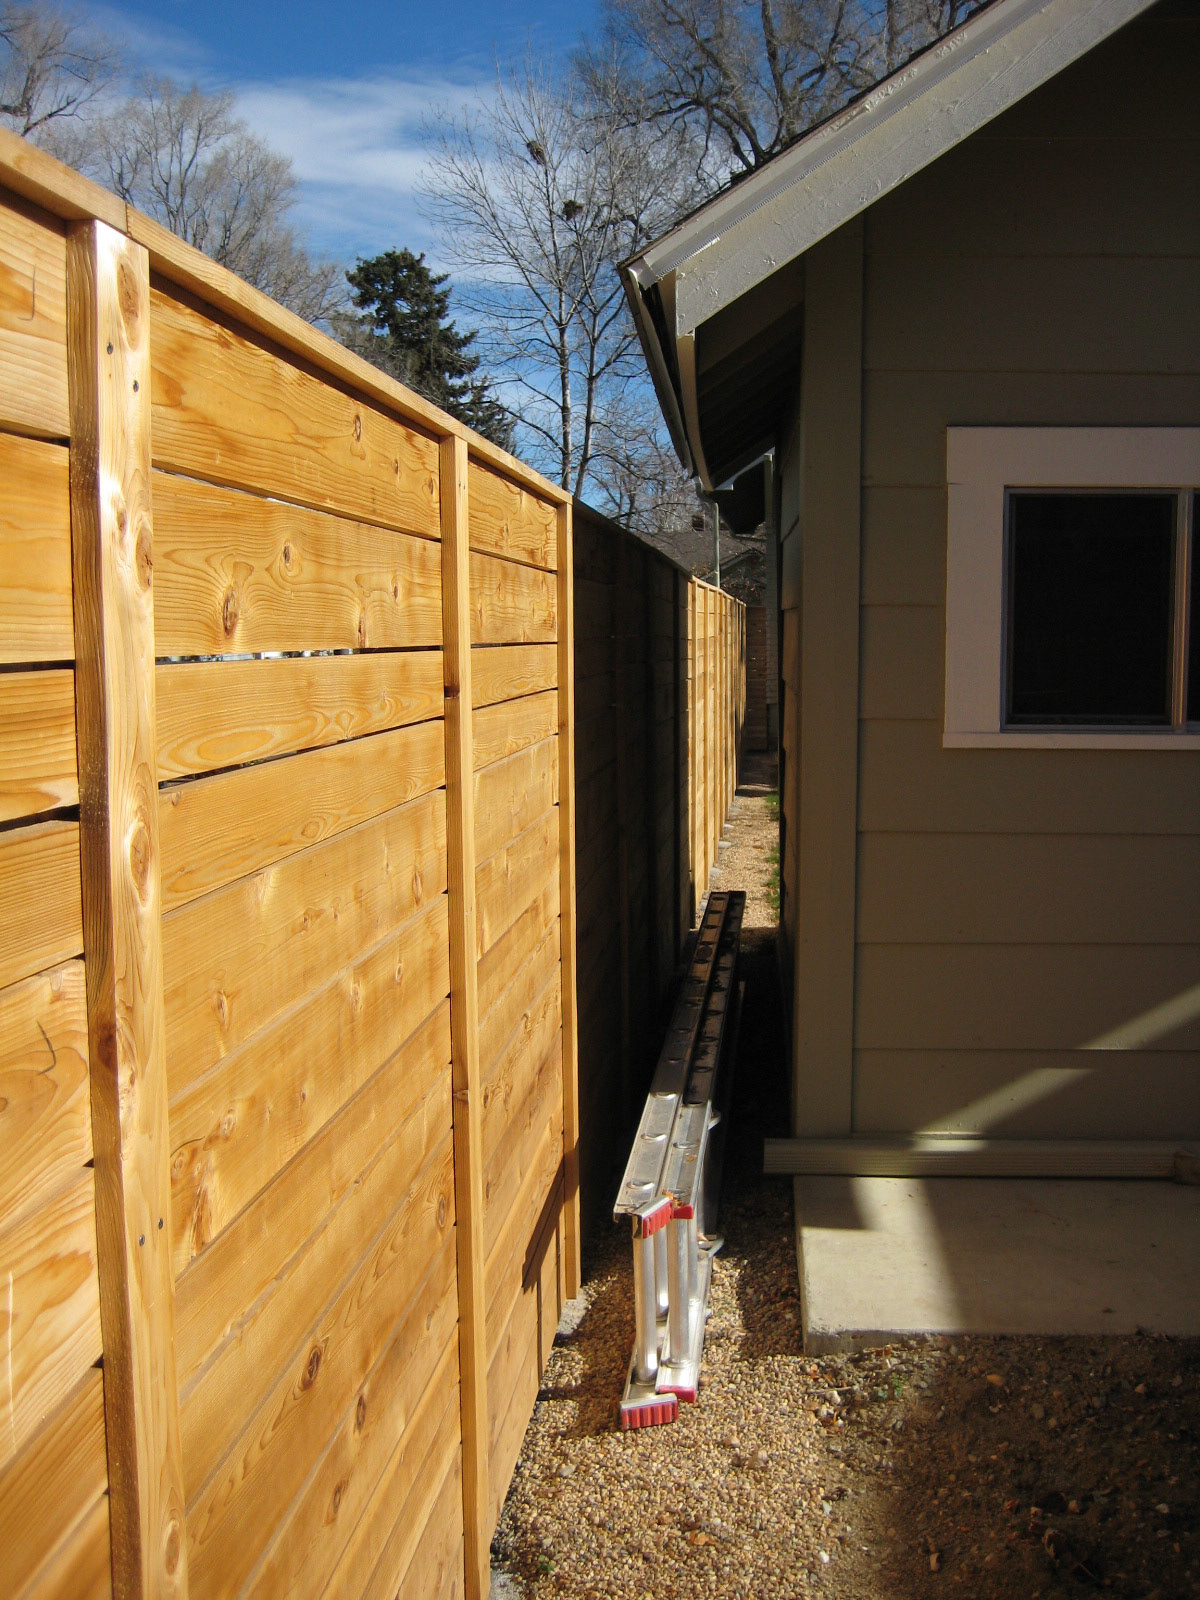
Turning the corner.
Notice the vertical boards. They are placed at each post, but they function as a cover for the board joints at every other post (which you can see in the previous photo). If we need to repair or replace a damaged section, we can remove three vertical boards, remove the horizontal boards for that section, and replace. That is, the fence is somewhat modular.
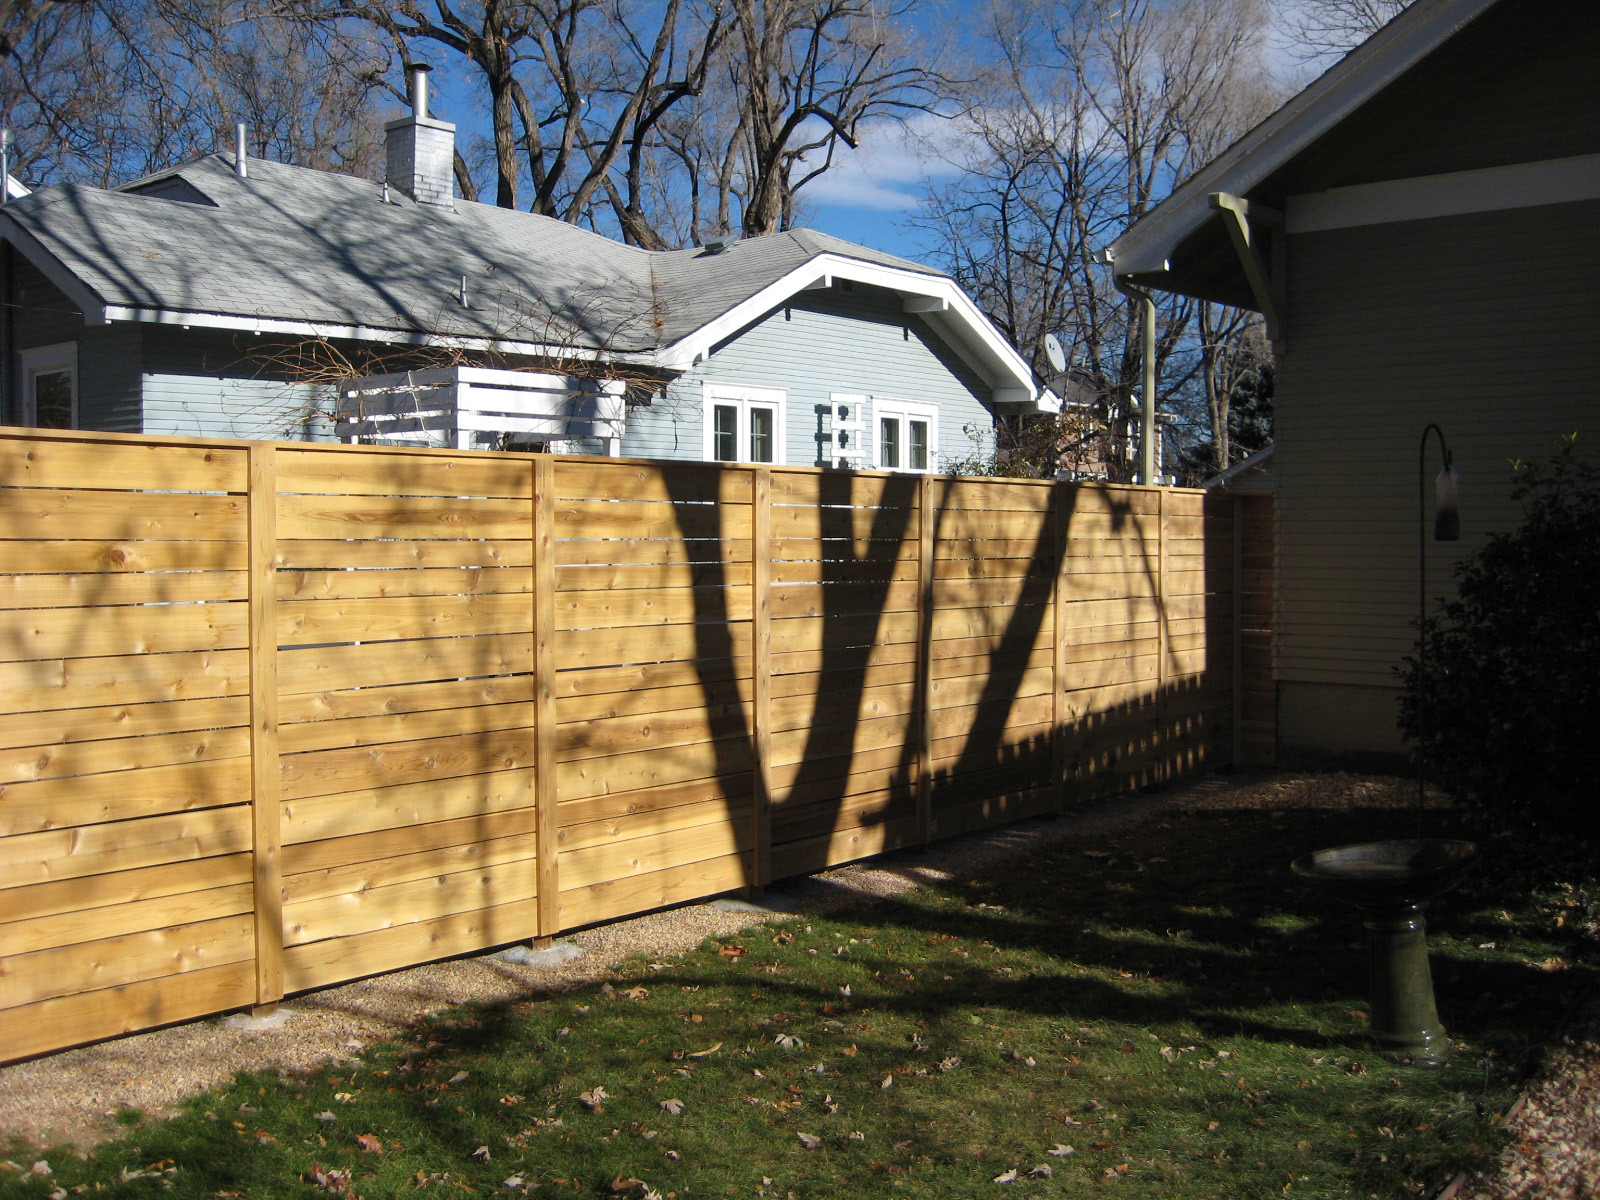
Notice the flat board across the top. This acts as a cap of sorts for the top of the posts. It's the most problematic part of the design, as a flat board doesn't shed water or snow well, so they've deteriorated the fastest, but they are easily replaced. Squirrels like to run the length of the fence along the top board; we call it the "squirrel highway".
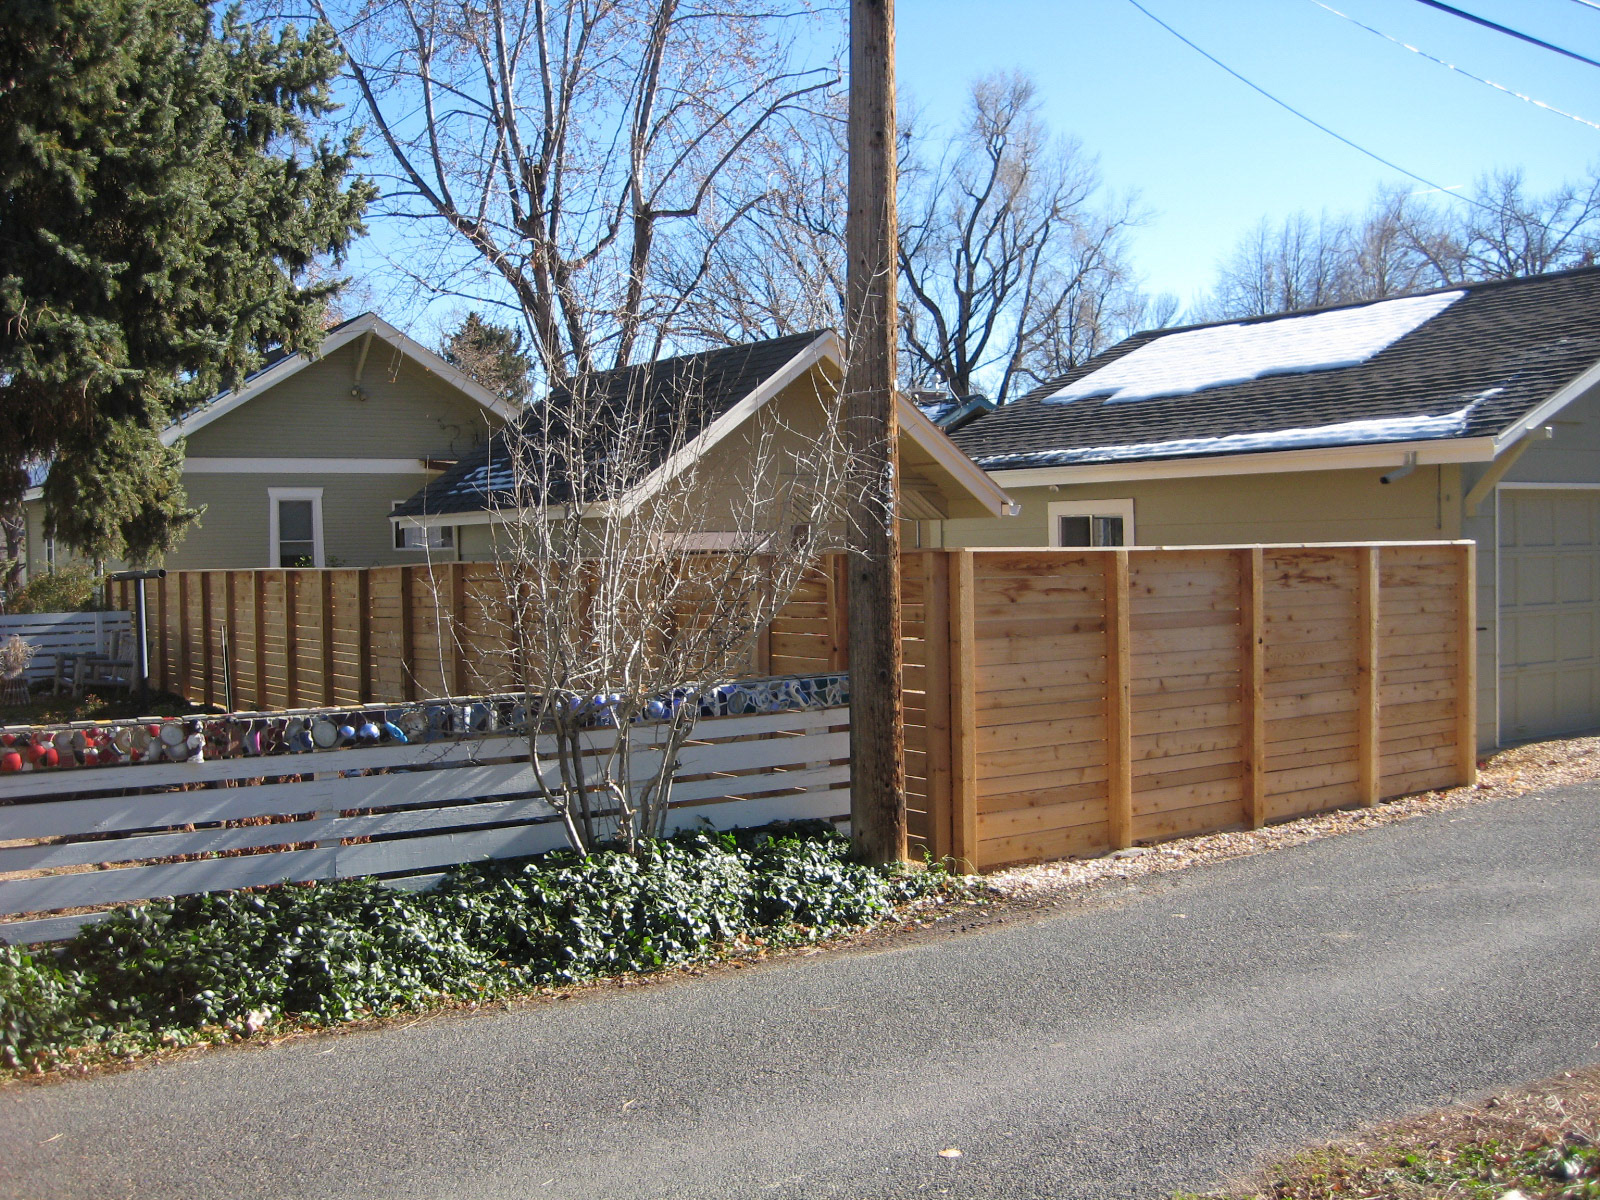
The view from the alley. The wood is not treated and has begun to silver nicely.
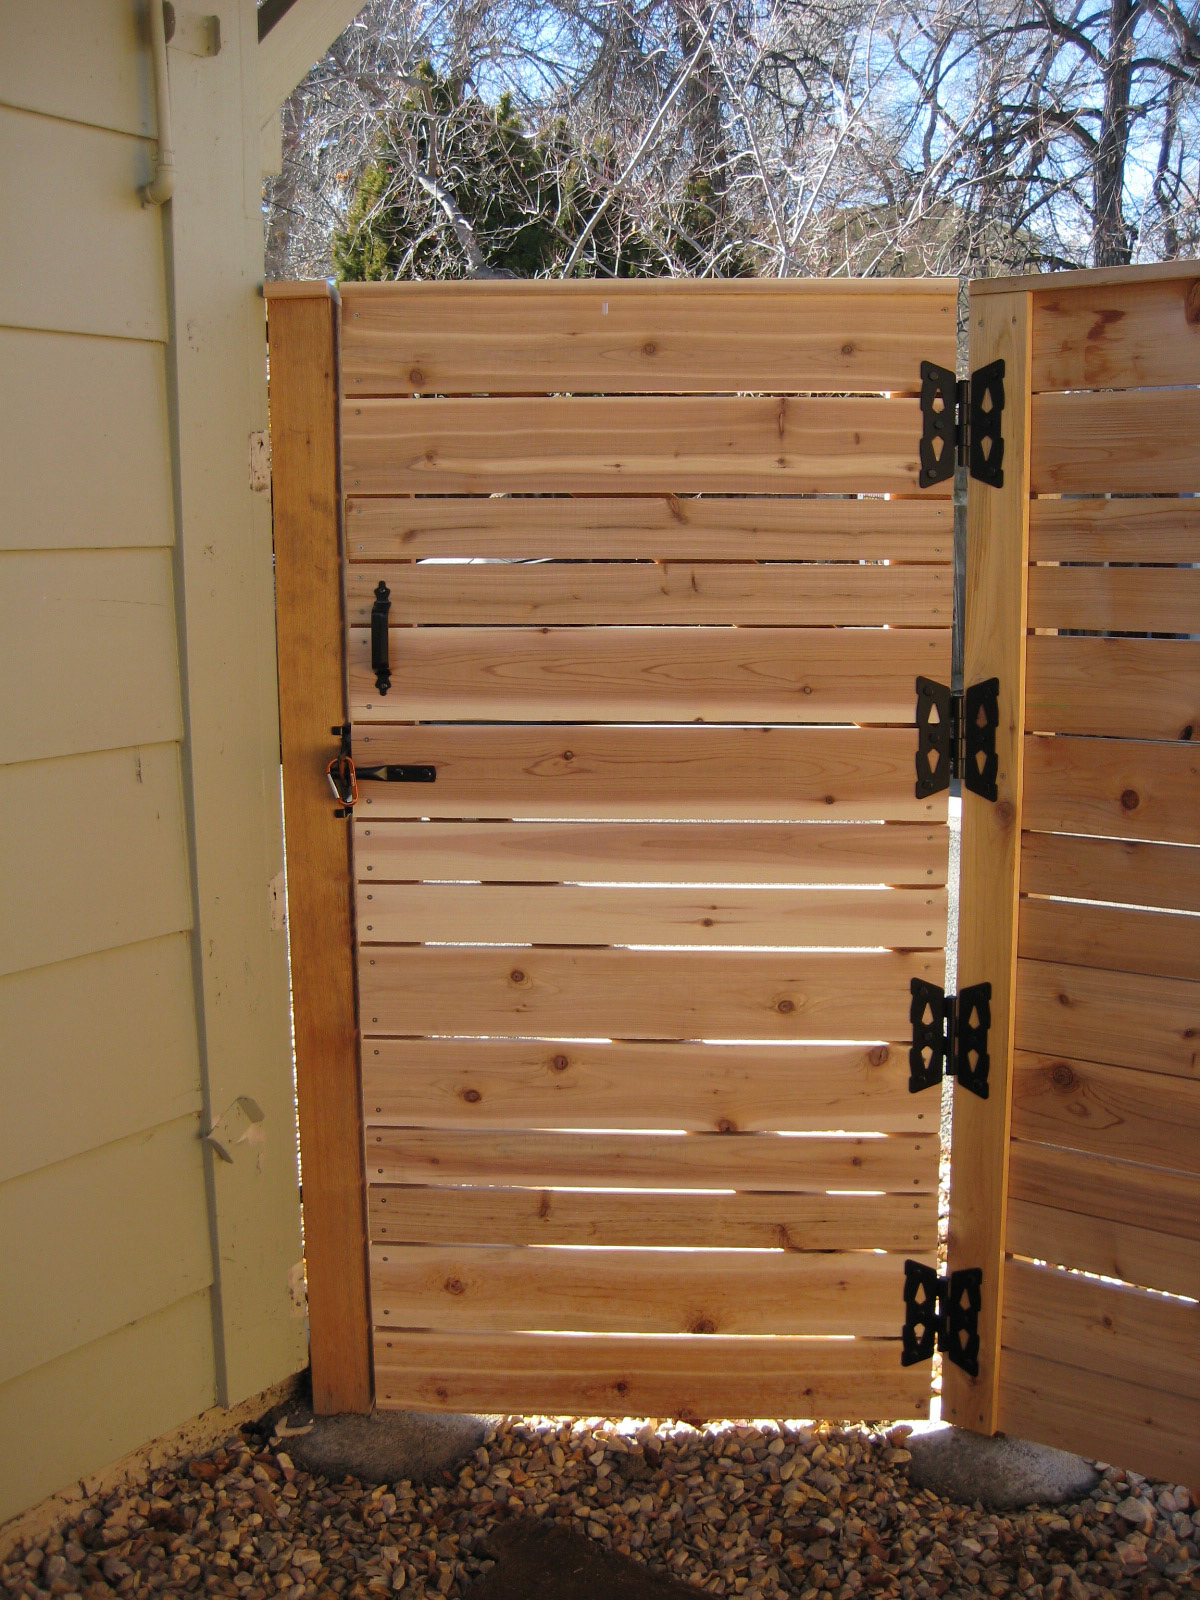
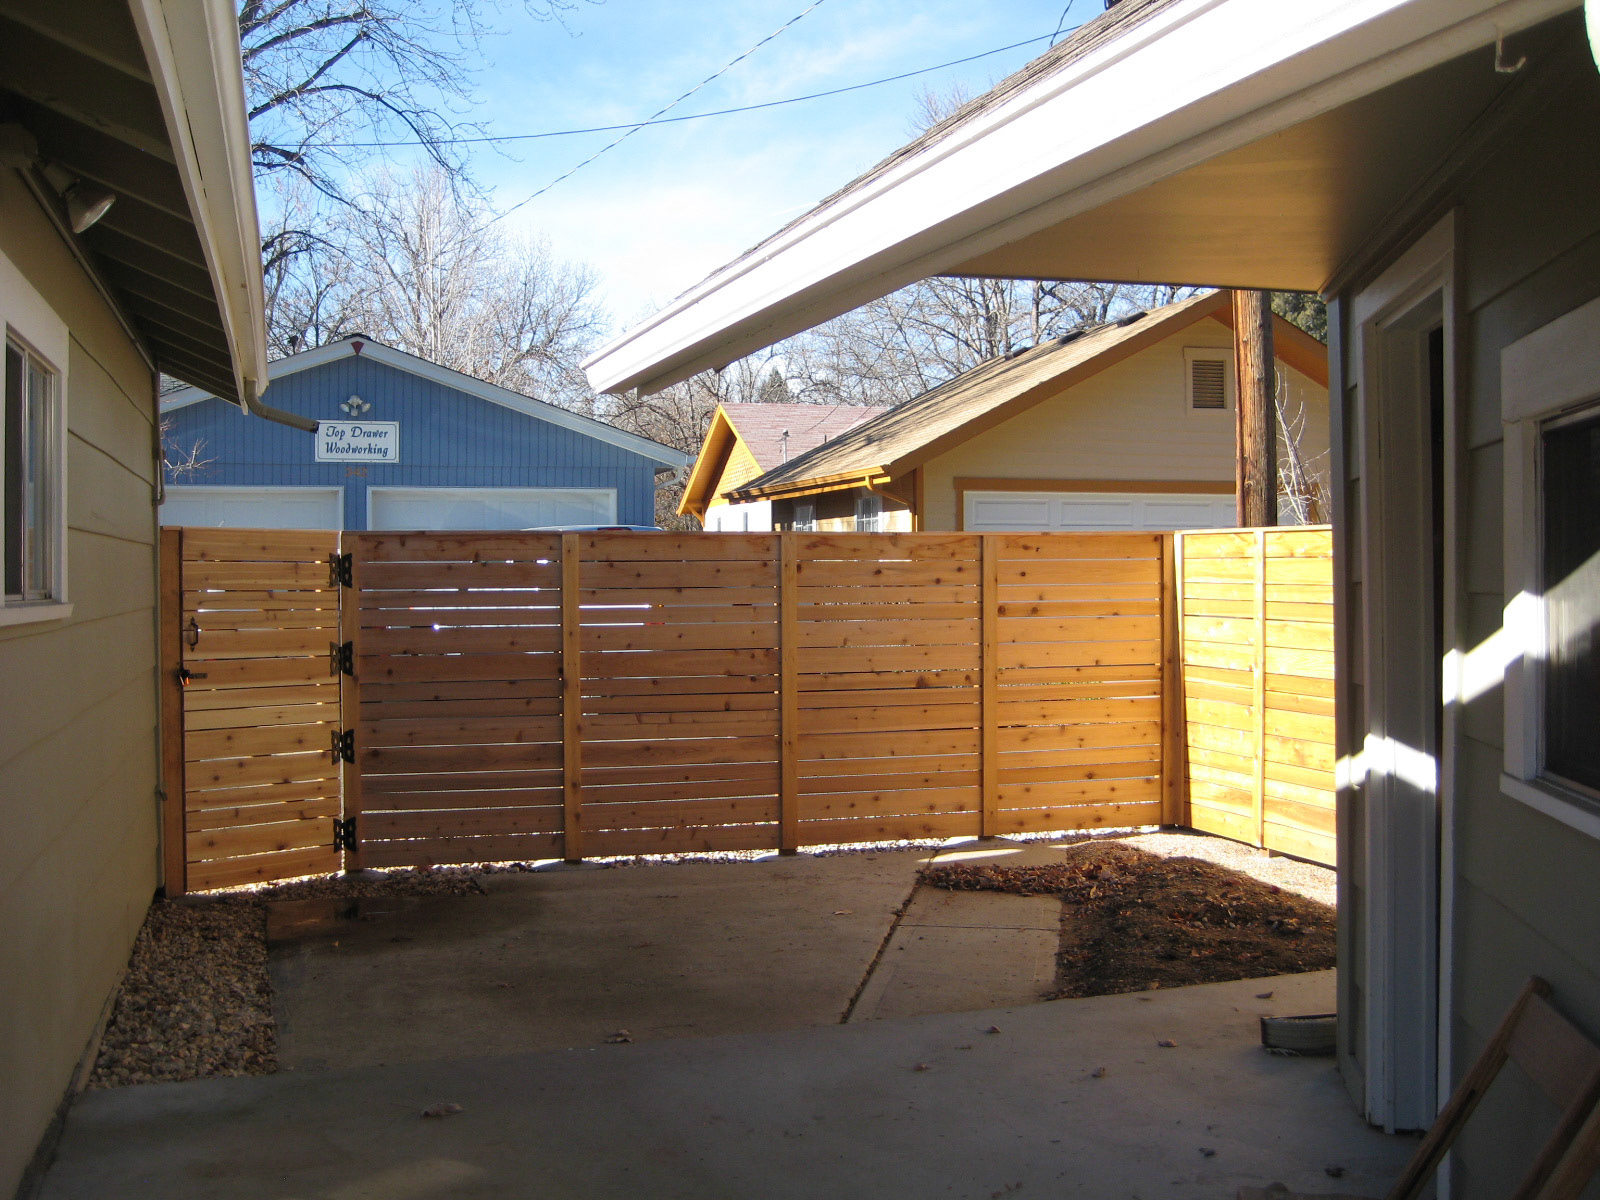
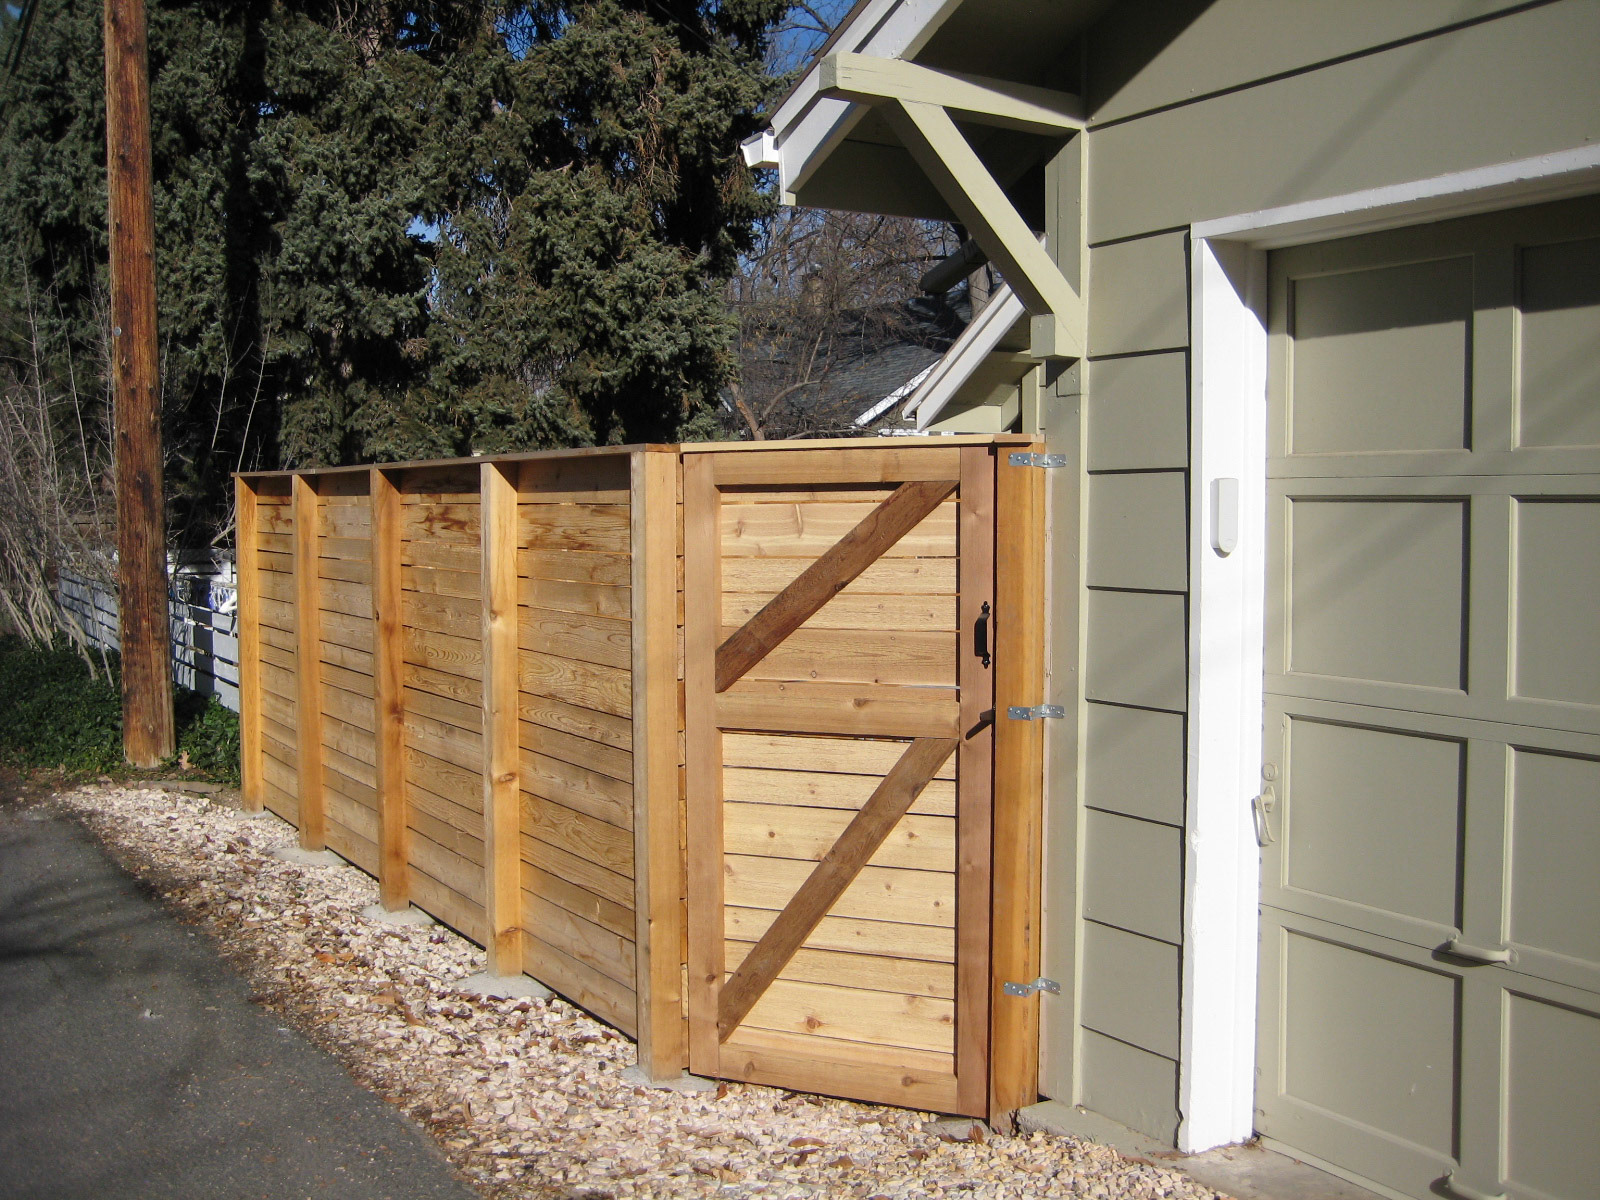
One of the biggest problems I see with fences are sagging gates. To avoid this, I decided to use 4 of these nice butterfly hinges from a local fence supply company. Notice that we put the gate on an angle so it would meet the corner of the garage.
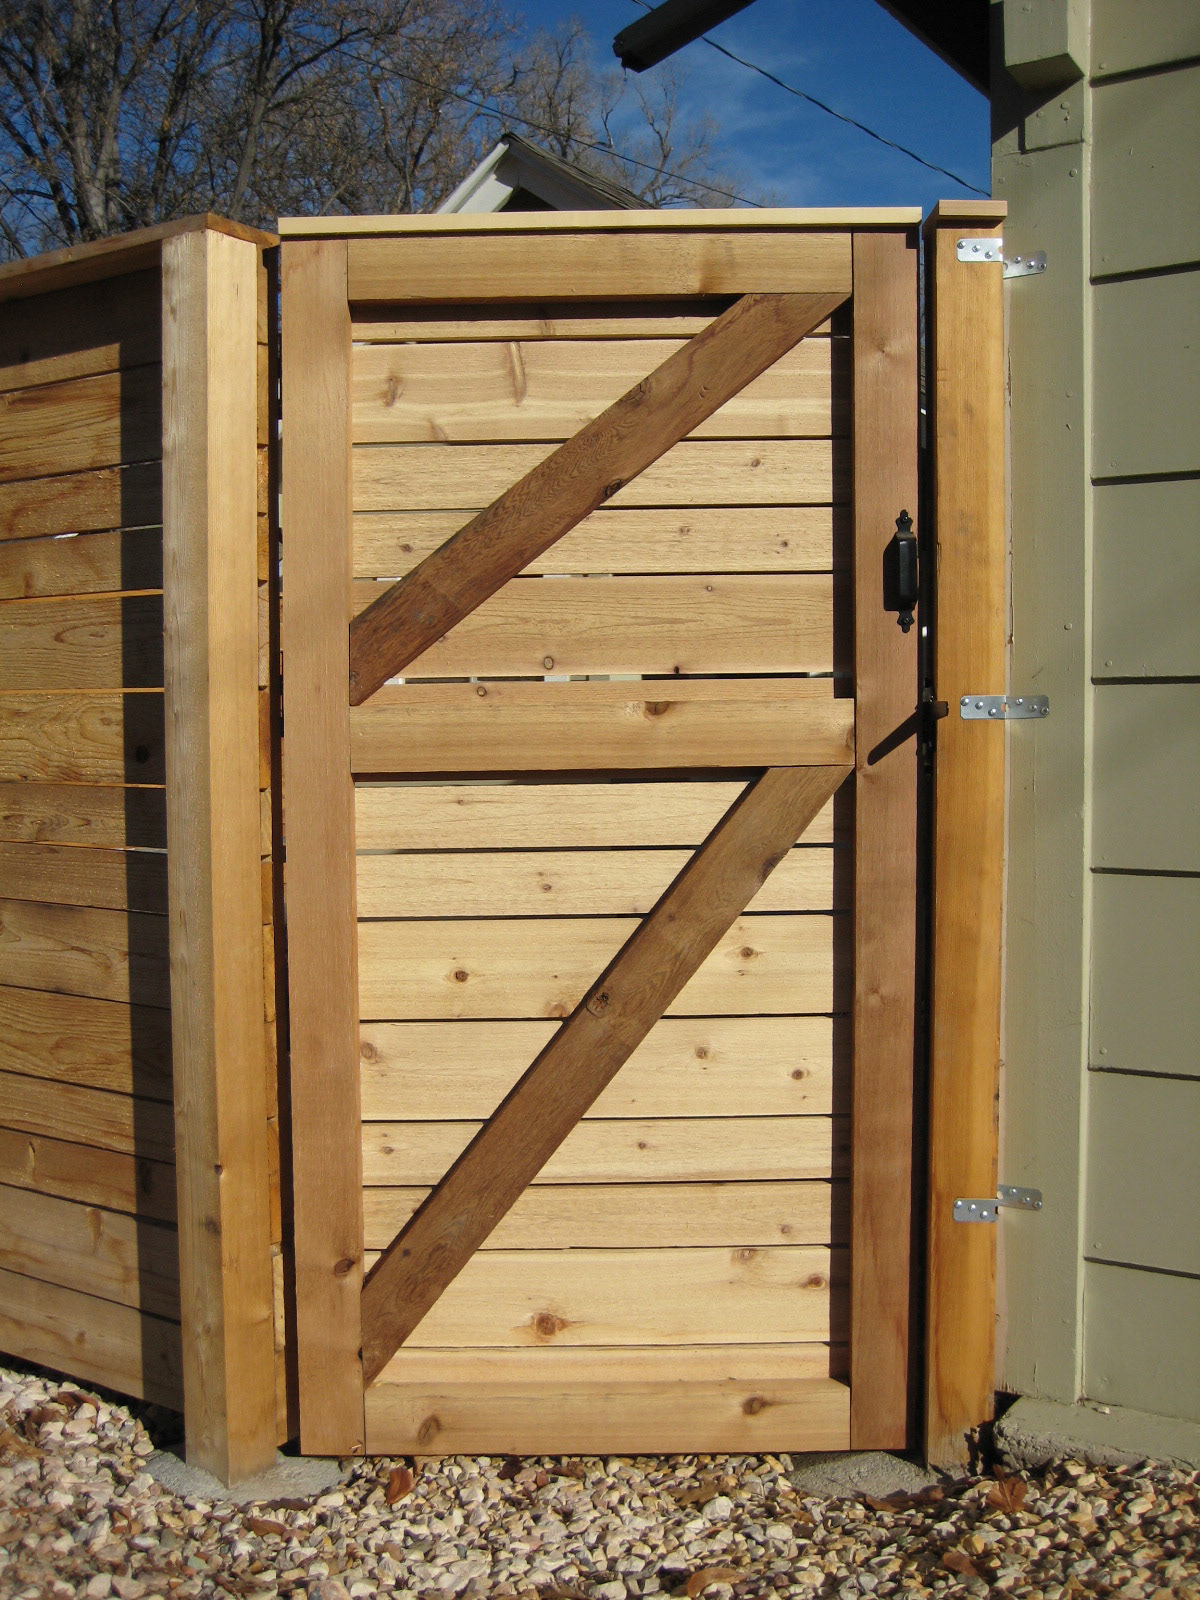
This is the alley side of the gate. The latch is at the correct height for my wife and me to use comfortably, so the crossbeam is also at that level because that's where the gate incurs the most stress as it's opened and closed. This means the gate is not divided evenly, resulting in the braces being at different angles. I like this because it's not symmetrical and reveals the structural physics of the gate.
Since building the fence in 2013, the gate has yet to sag (knock on wood!). Part of that is because I took a long, hard look at how the braces should be built. They need to carry the load of the gate from the latch side of the gate to the post with the hinges, so the braces need to go from upper right to lower left in this photo. People often build the braces in their gates going the other way, and then wonder why the gate sags. It's because all the load in their gate is being directed to the side of the gate that doesn't have a post.