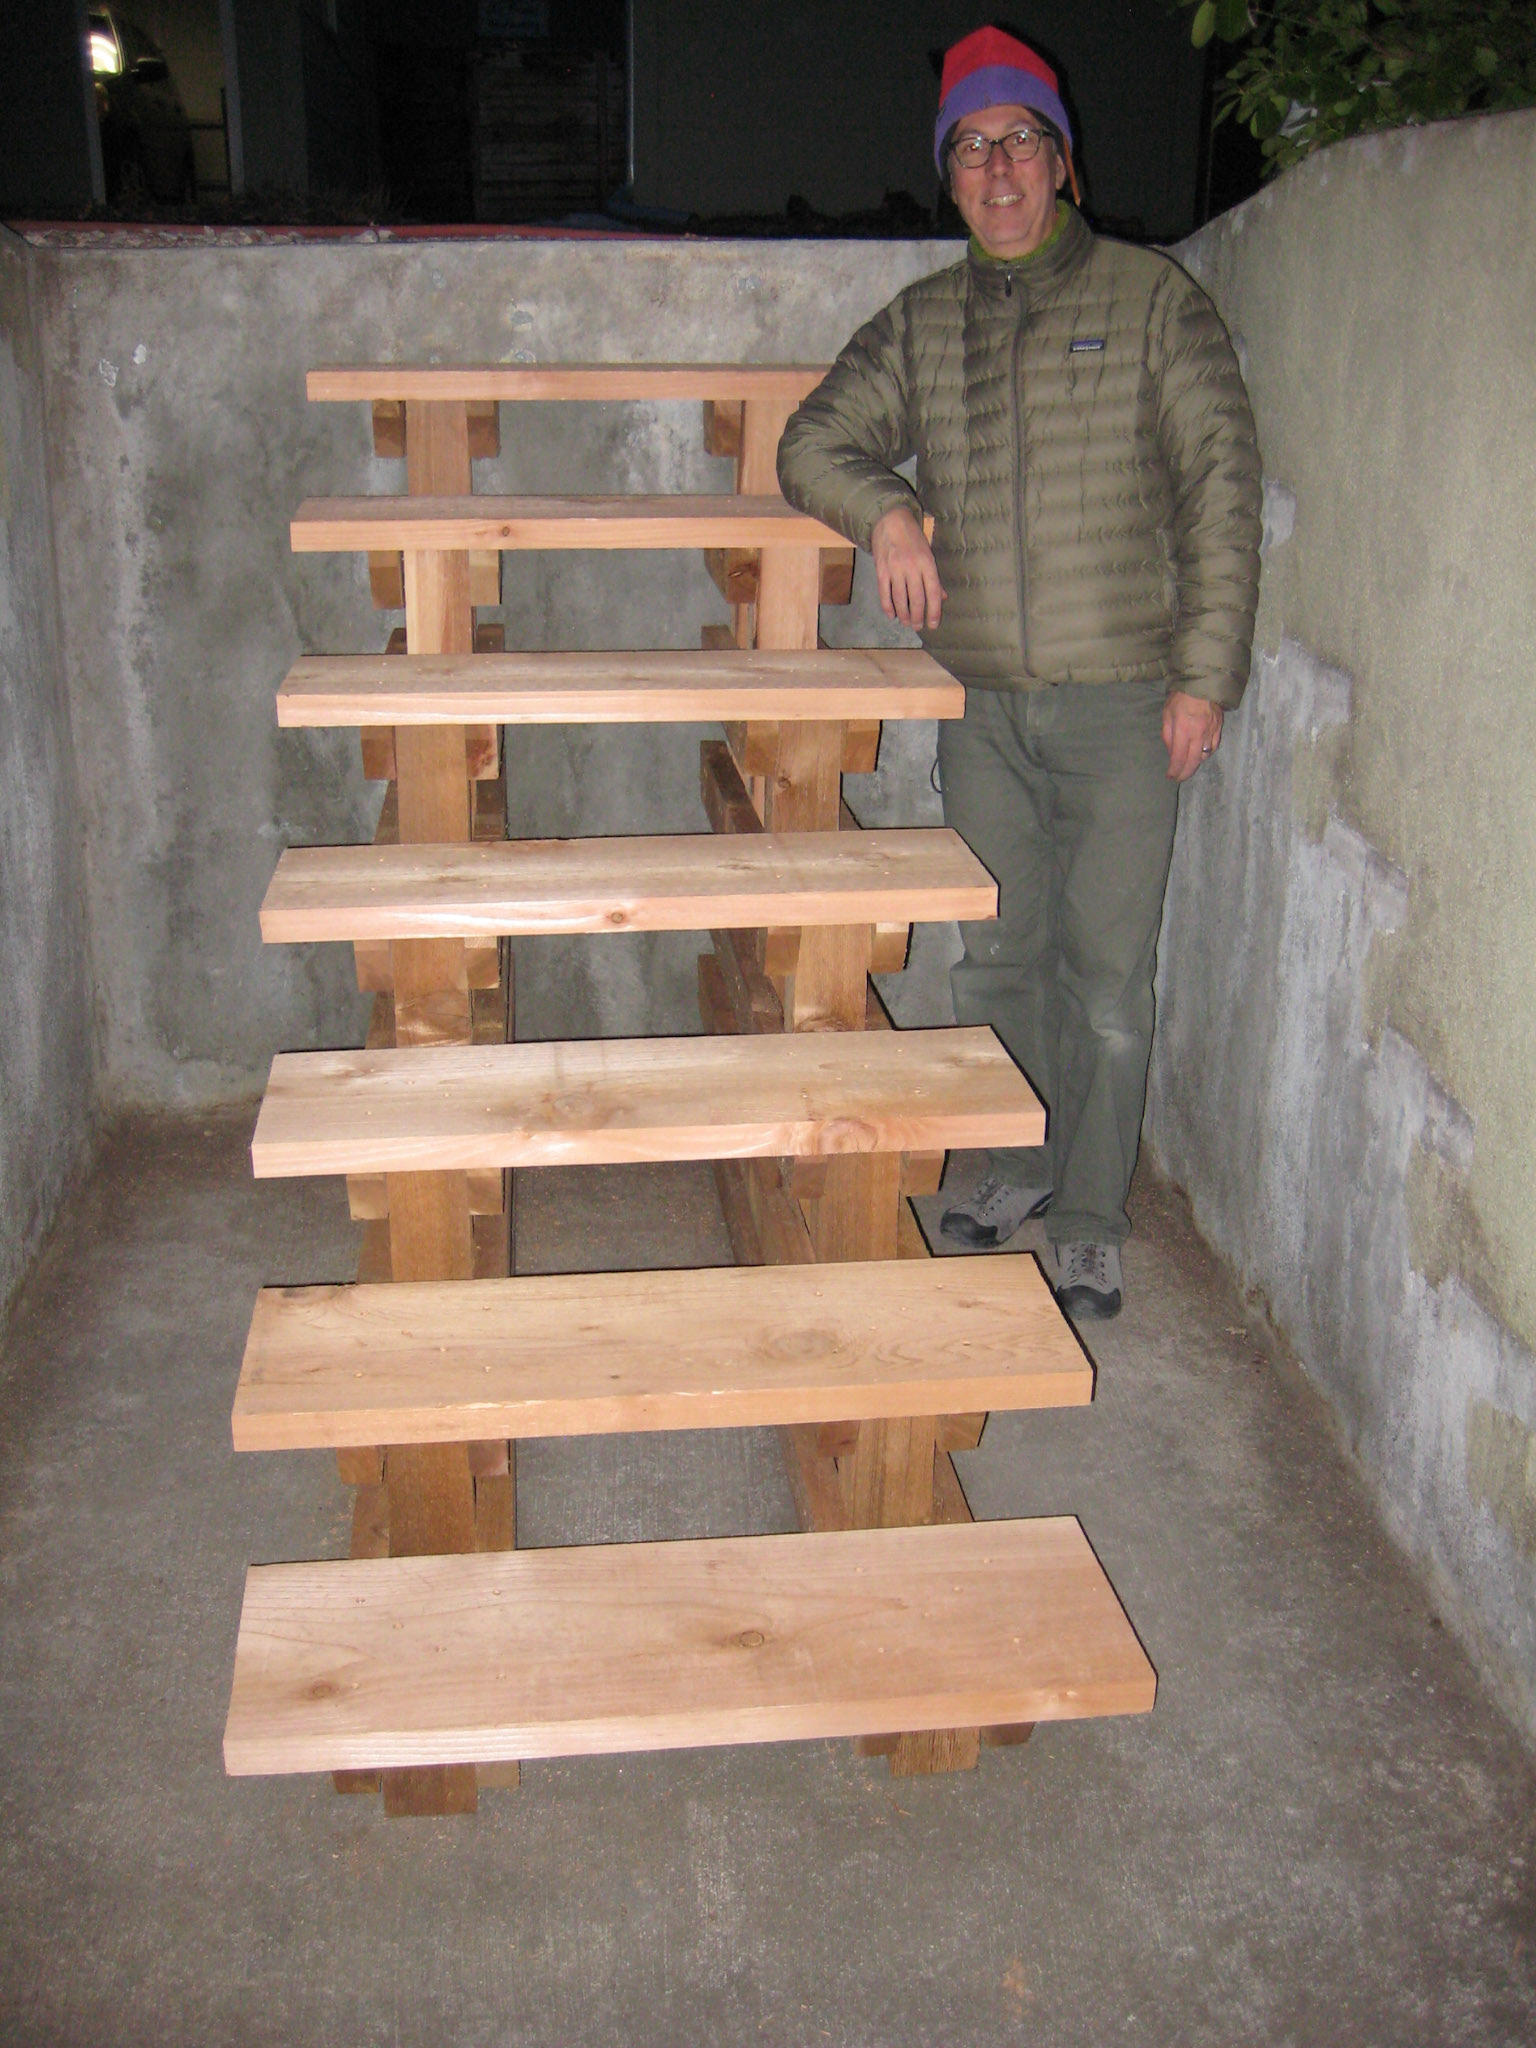
This is the walk-out stairwell to our basement. On the left wall, you can see where the previous set of stairs were; they went from wall to wall. With this being below grade, any moisture was largely trapped by the stairs. It was like a grotto. It was never dry and leaf litter from the large maple tree above would get under the stairs and rot. Since the stairs went wall to wall, there was no access from the sides to get the detritus out. Also, you can see the concrete walls have spalled and have efflorescence, two signs of deteriorating concrete due to excess moisture. For this reason, I needed to build stairs that would not be attached to any of the concrete, as its stability is questionable. So, standard stair construction techniques could not be used. As I demolished the old stairs, I found that the wood had rotted in many places. This was especially true on the treads because previous owners had covered the wood treads with plastic decking, trapping moisture even more.
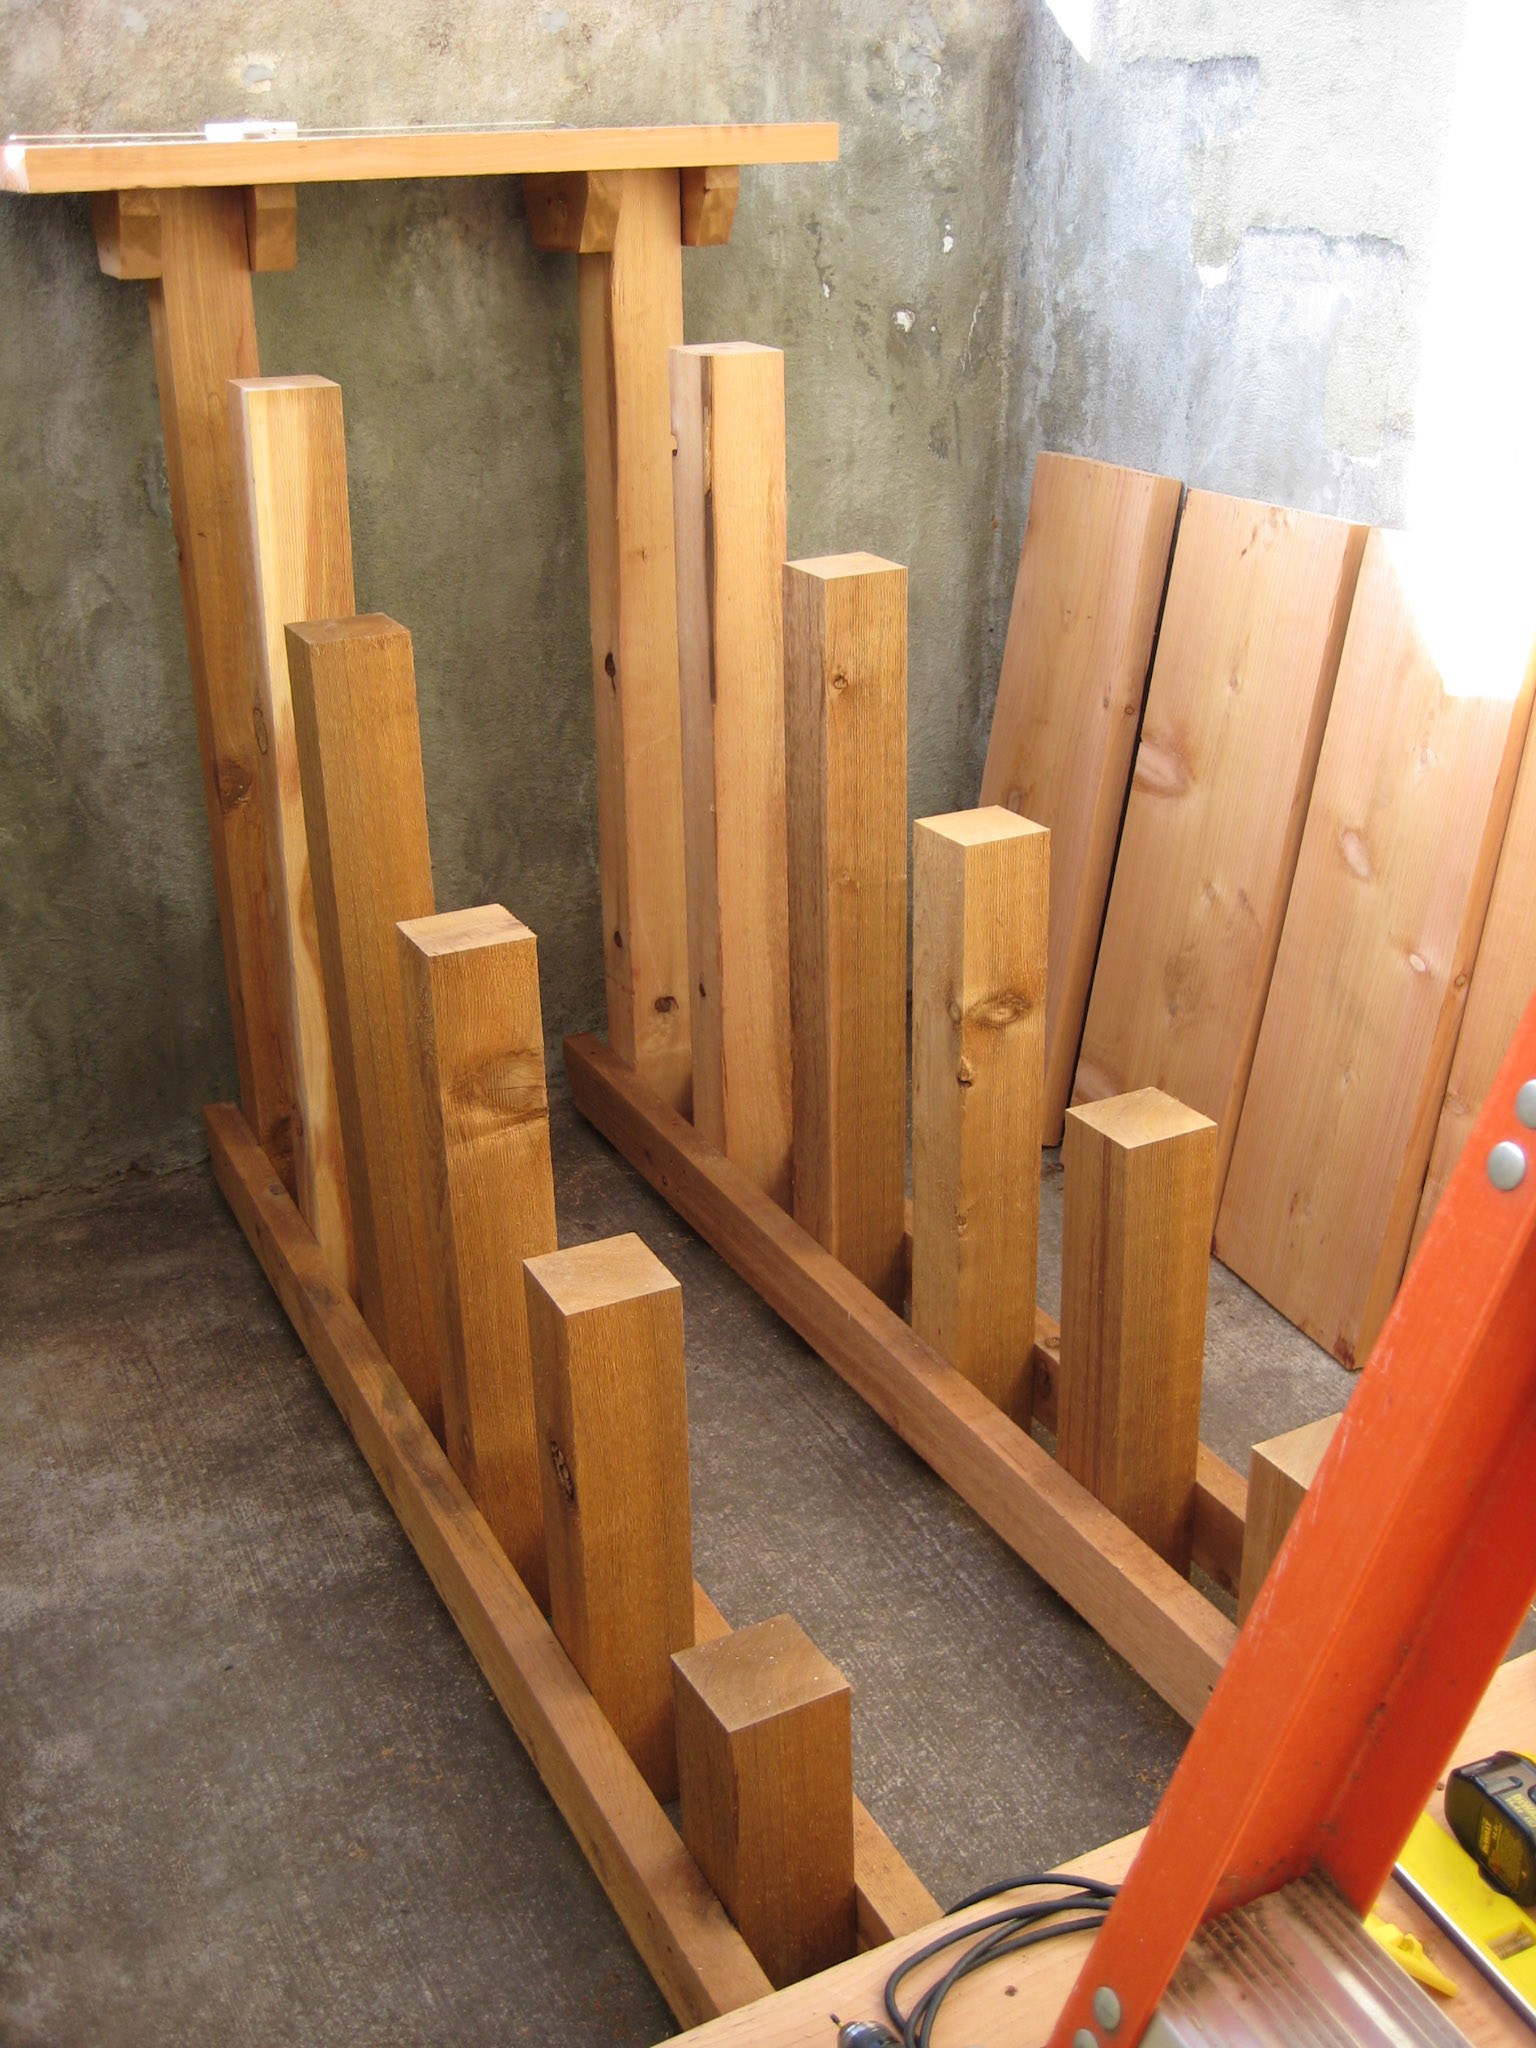
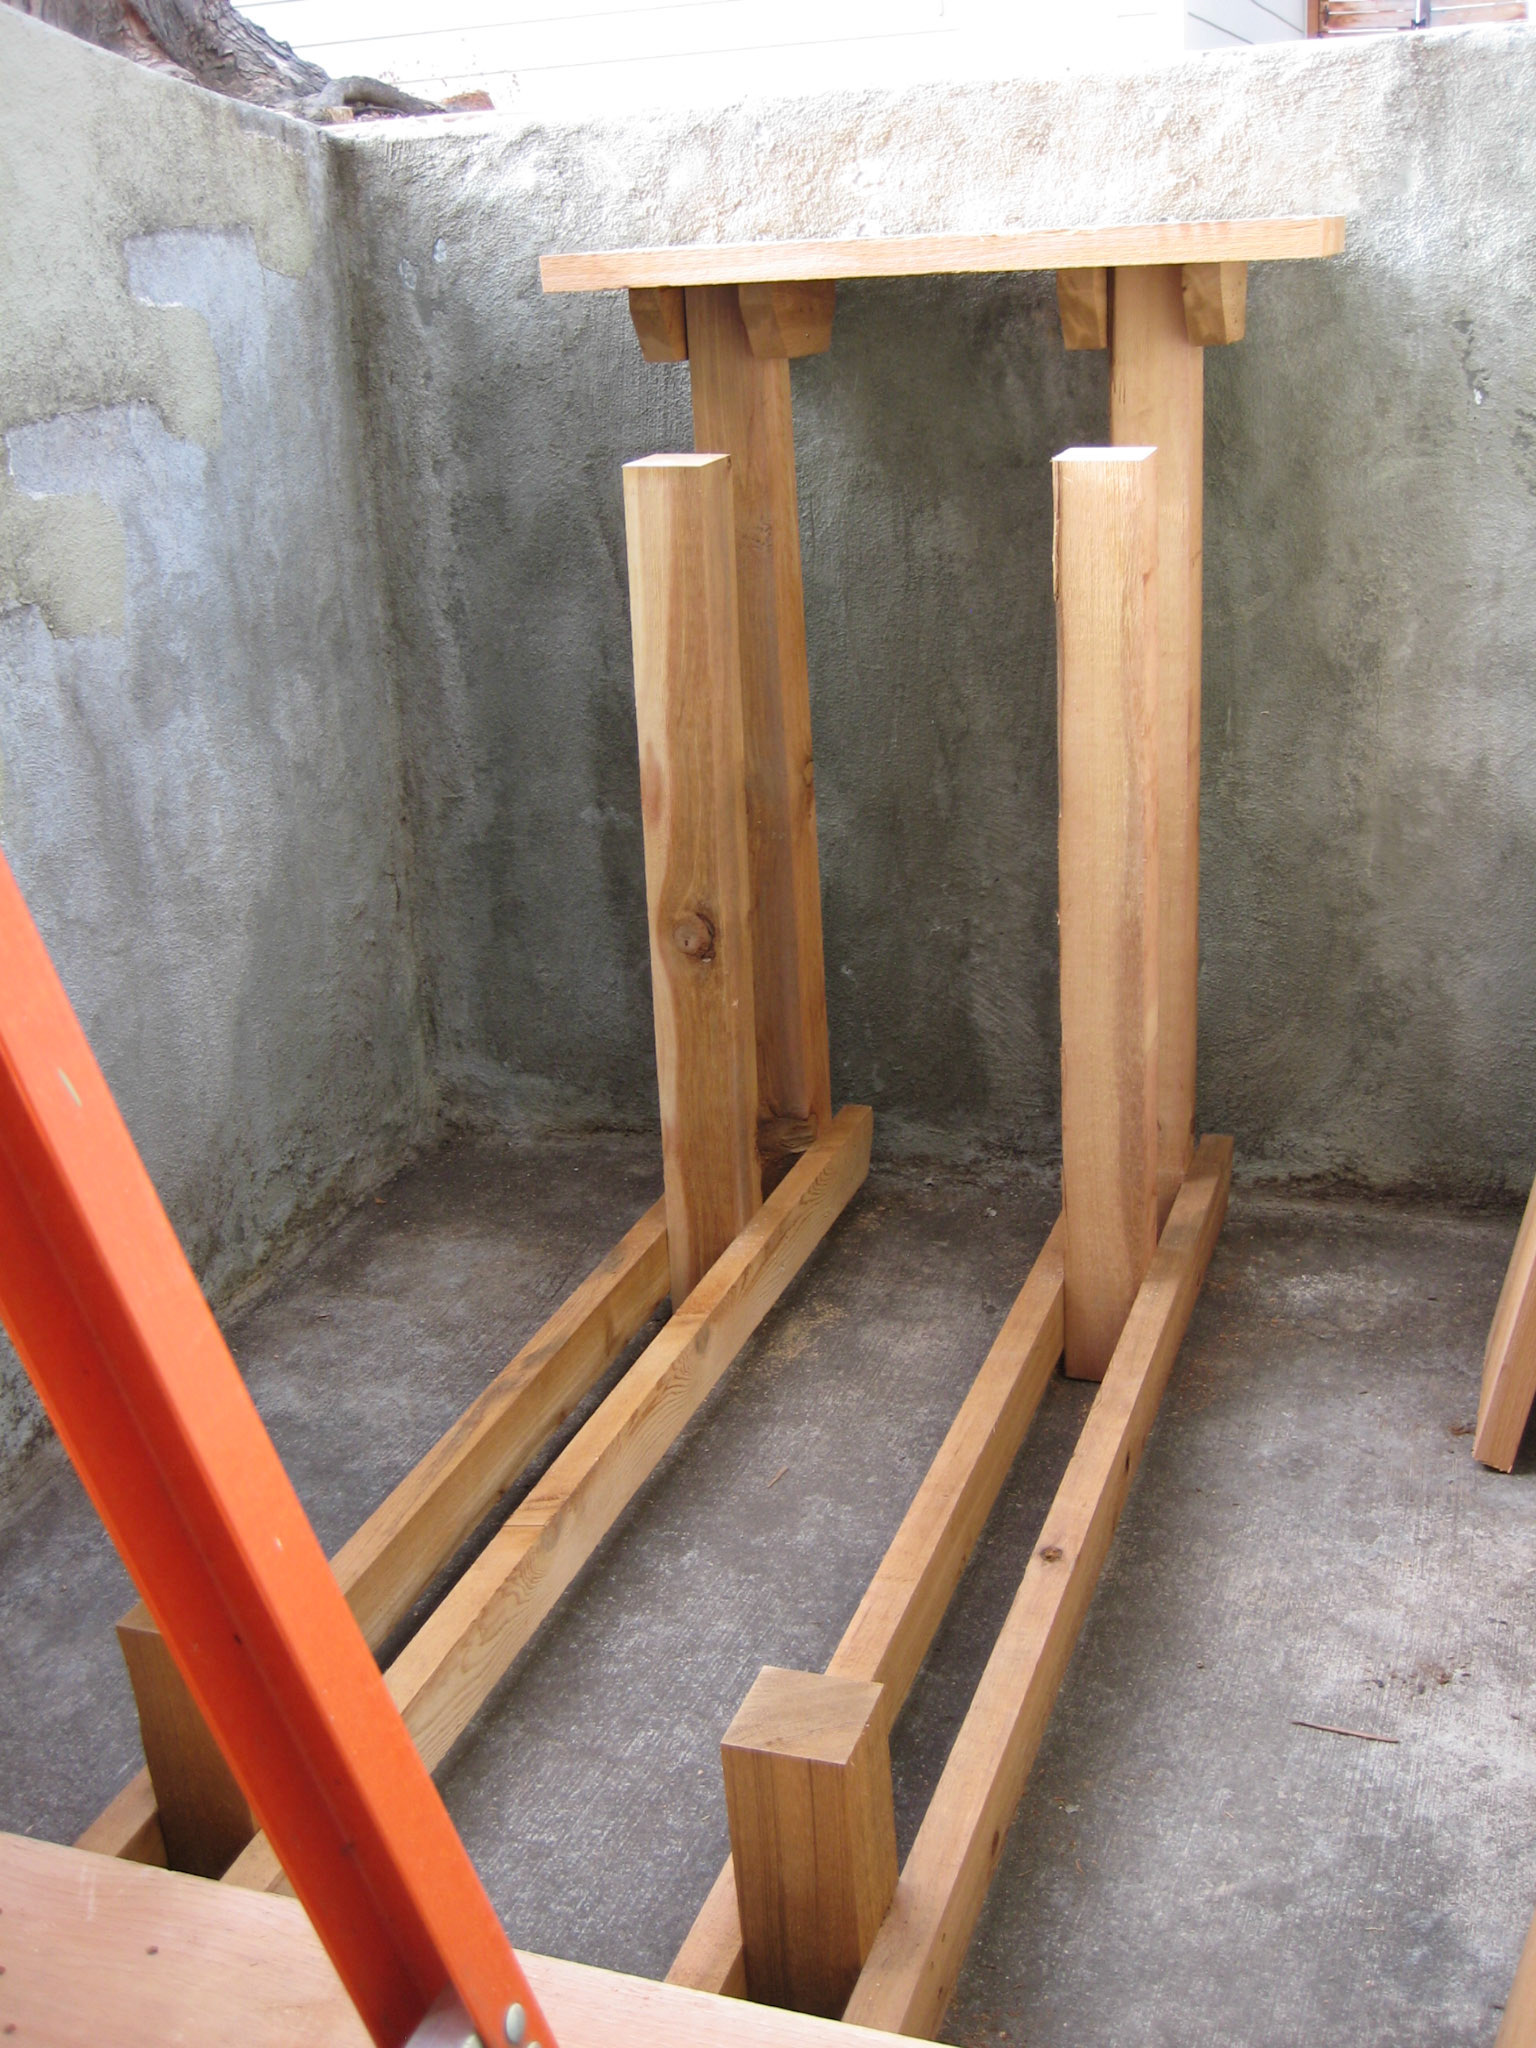
Using 4x4 inch posts and 2x12 treads as the beams, I was able to create a freestanding structure that was massive enough that it would not move or tip, thus eliminating the need for it to be attached to the walls or the floor. Sheer weight keeps it in place.
The 2x4s connect the posts together. Our house is a California Arts and Crafts bungalow, so I angled the ends of the 2x4s to stylistically match the knee braces in the gable ends of the house. All of the wood used is cedar. I used stainless steel hardware. No sealant or finish is used; the cedar has weathered to a nice silver.
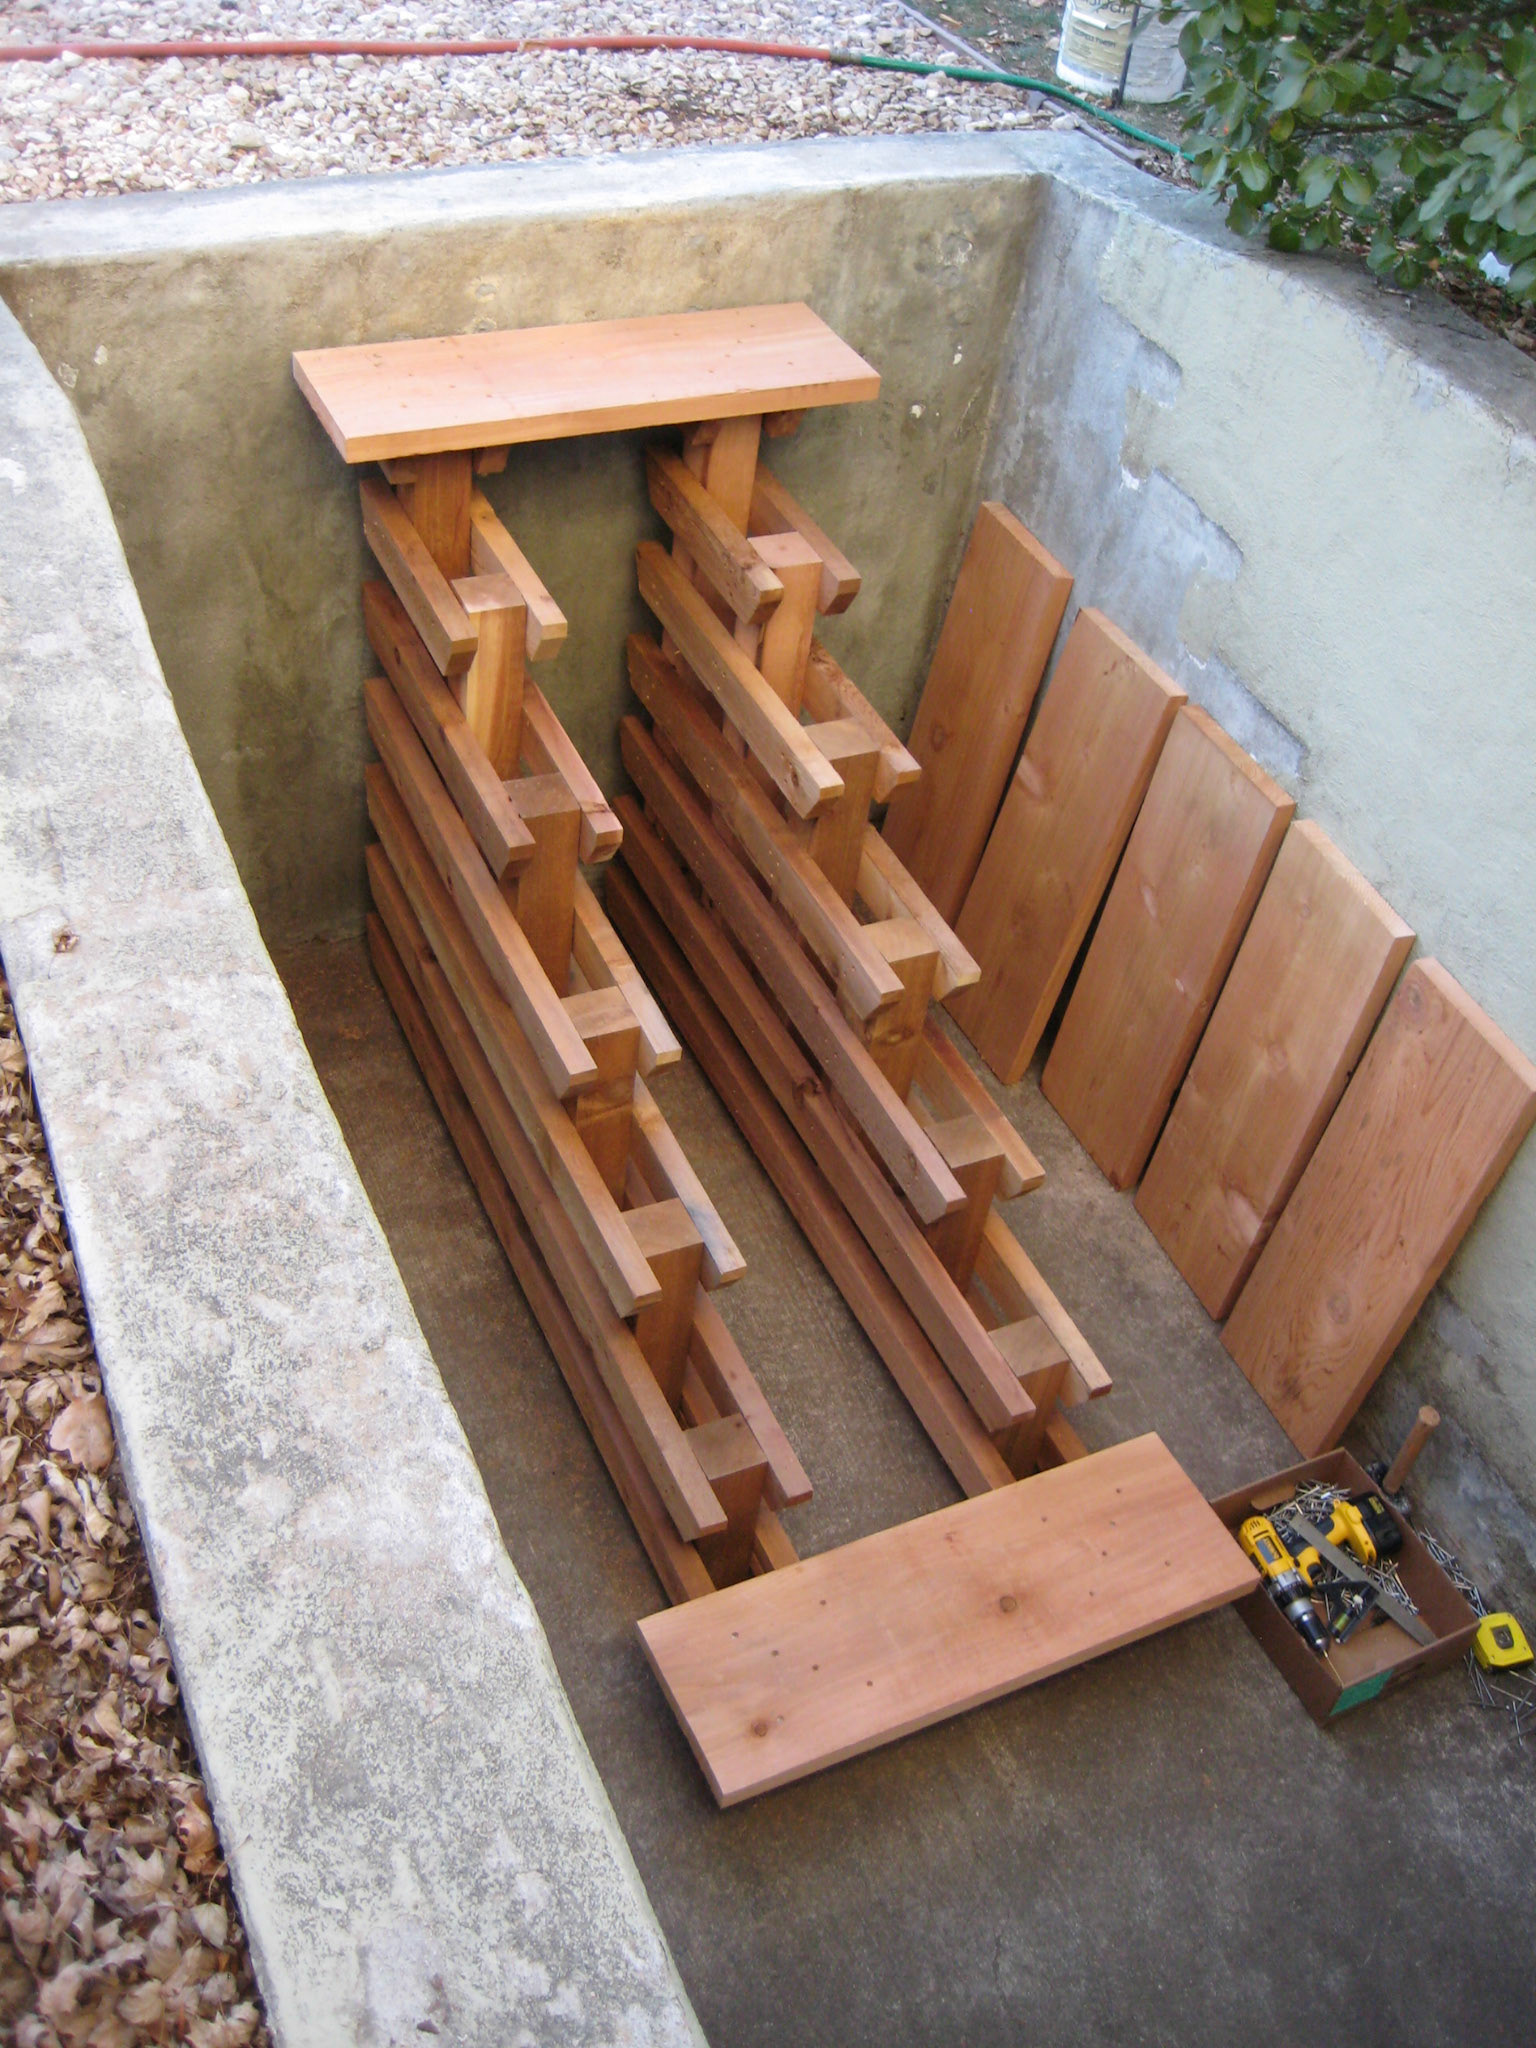
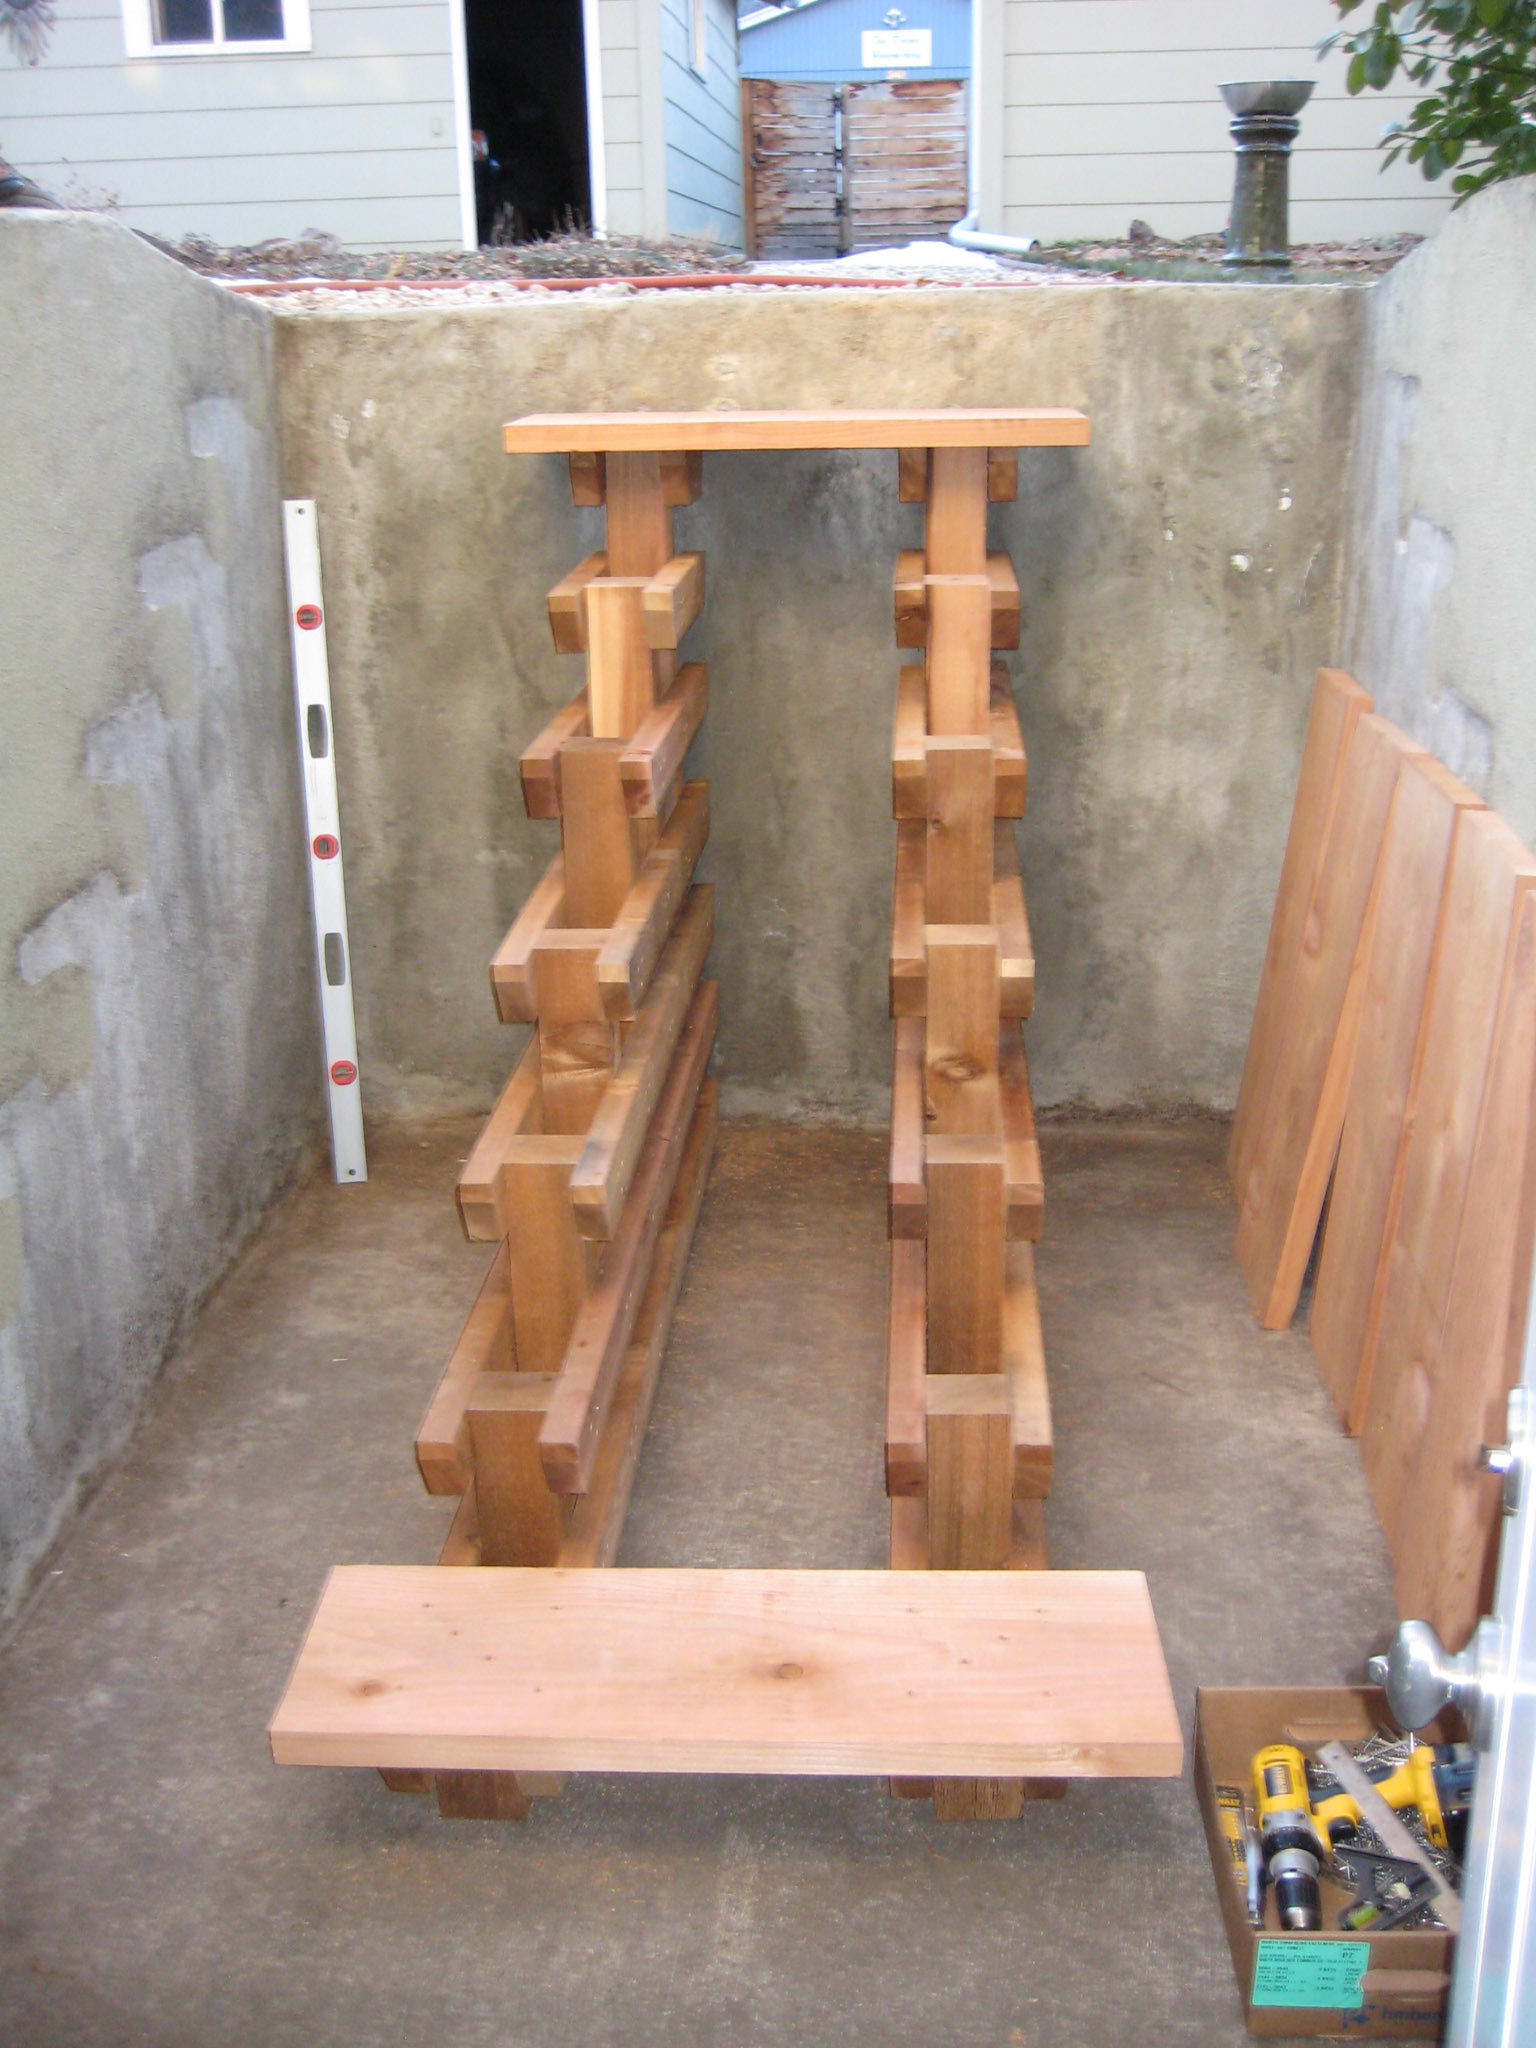
This view shows the overall structure better.
The finished project. Did I mention I did this in January with the highs being only 20 degrees Fahrenheit each day? Since this photo, I've painted the walls, and I've found that the stairwell stays much drier than before.
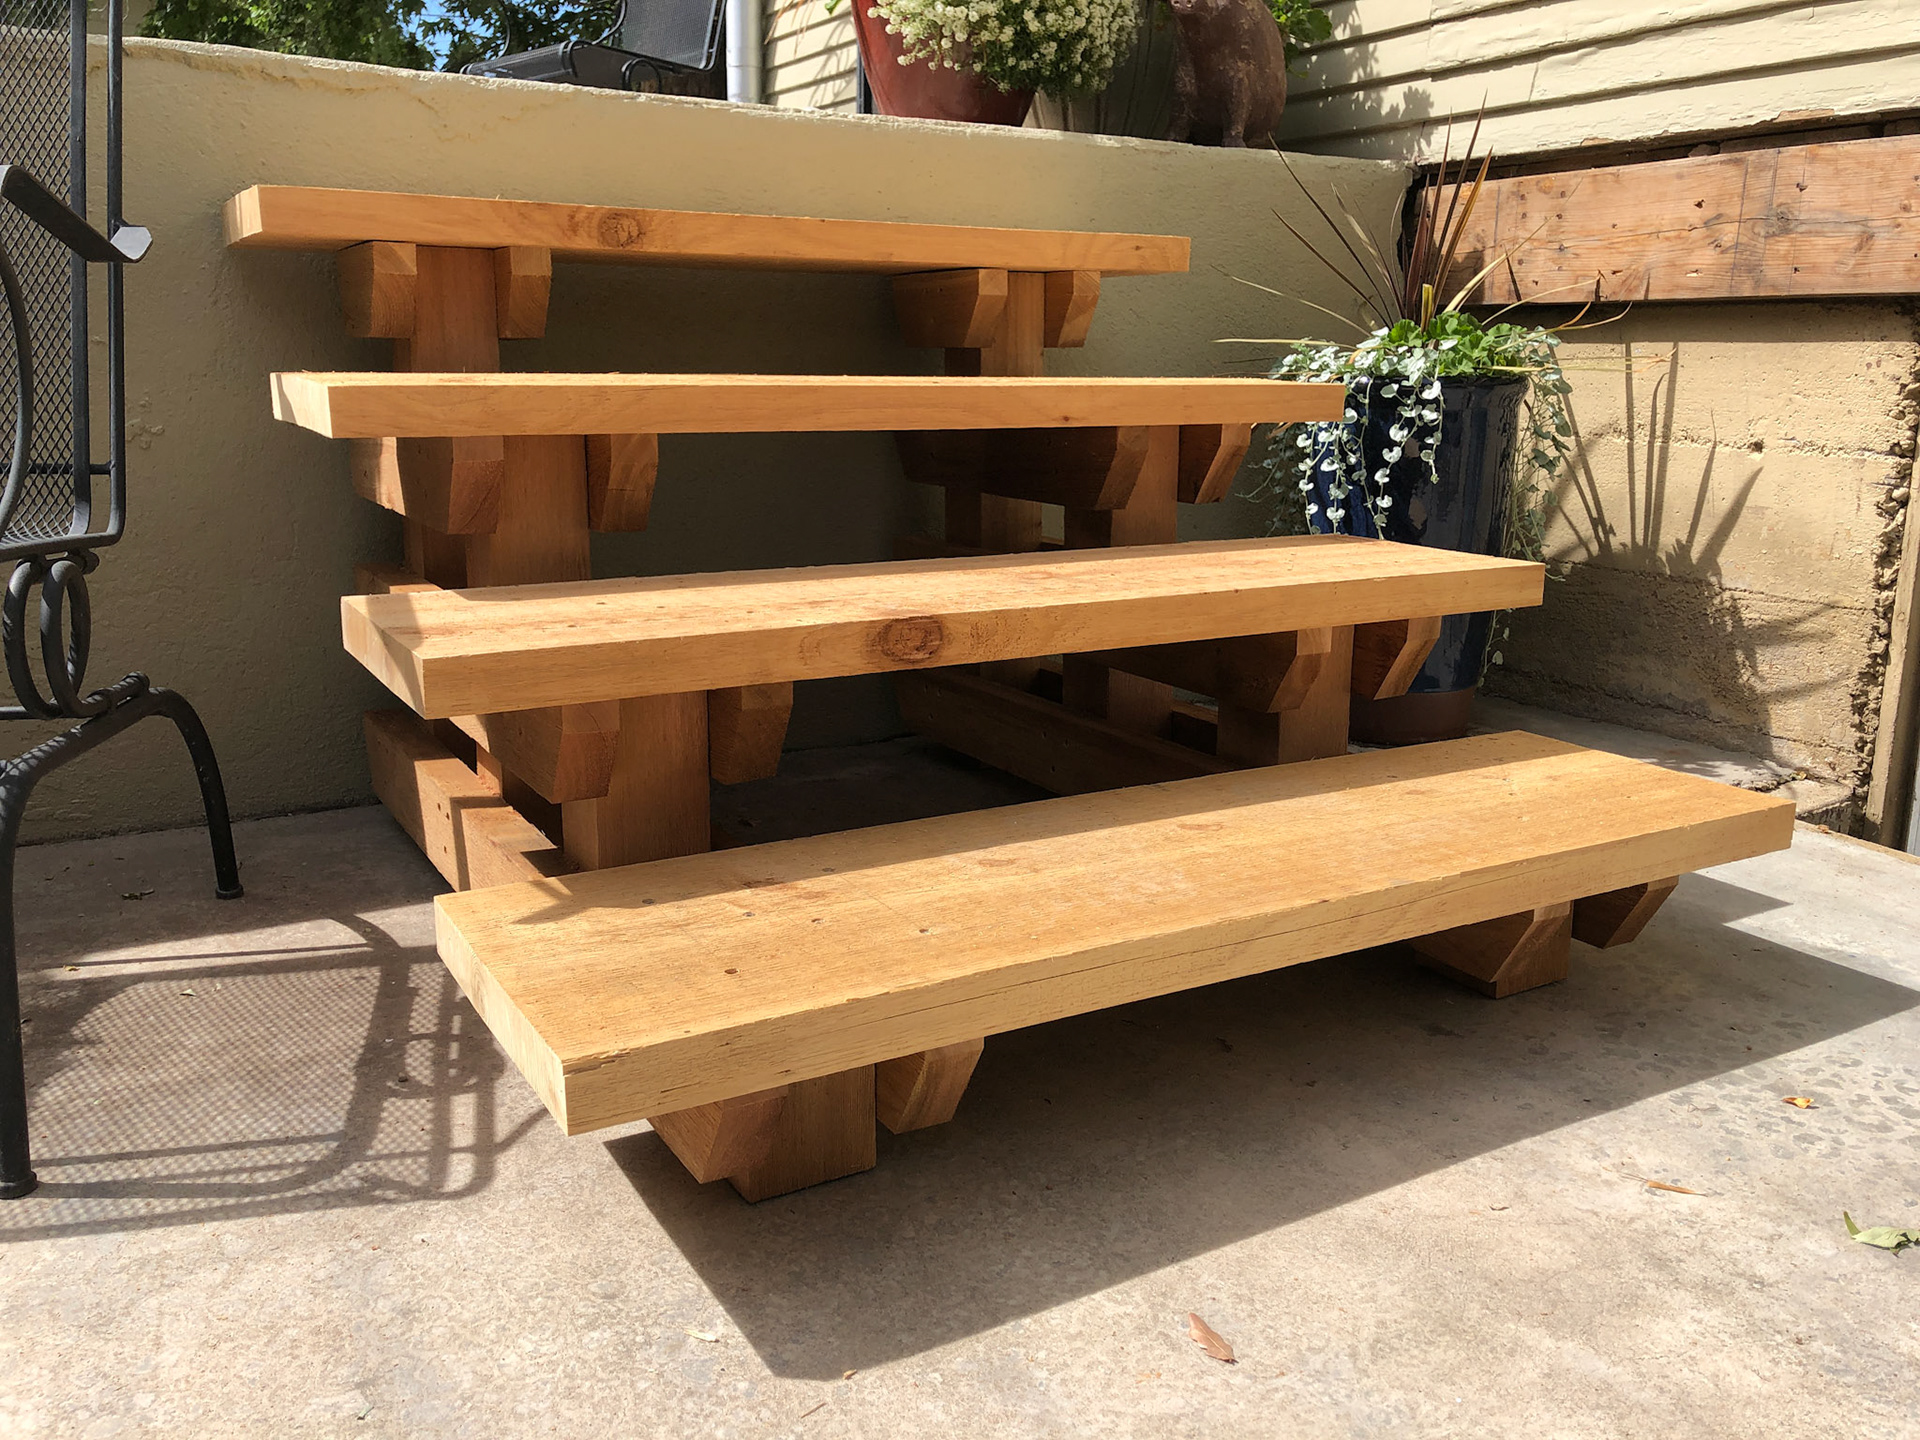
Since building the first set, I've repeated the design for two other freestanding stairs, simply changing the height and width as needed.